Skip to content

Guide

Auto exposure bracketing, explained

Auto exposure bracketing (AEB) is a camera mode that fires several frames of the same scene at different exposures in one burst — typically a shot metered normally, a darker one to protect the highlights, and a brighter one to open up the shadows. It exists because no single exposure can hold onto everything a high-contrast scene contains. This guide covers what AEB actually does and why you'd use it, exactly how to turn it on for Canon, Sony, Nikon and Fujifilm cameras, which EV spacing and frame count fit a given scene, whether handheld shooting works, and what to do with the bracketed frames once you have them.

What AEB is, and the problem it solves

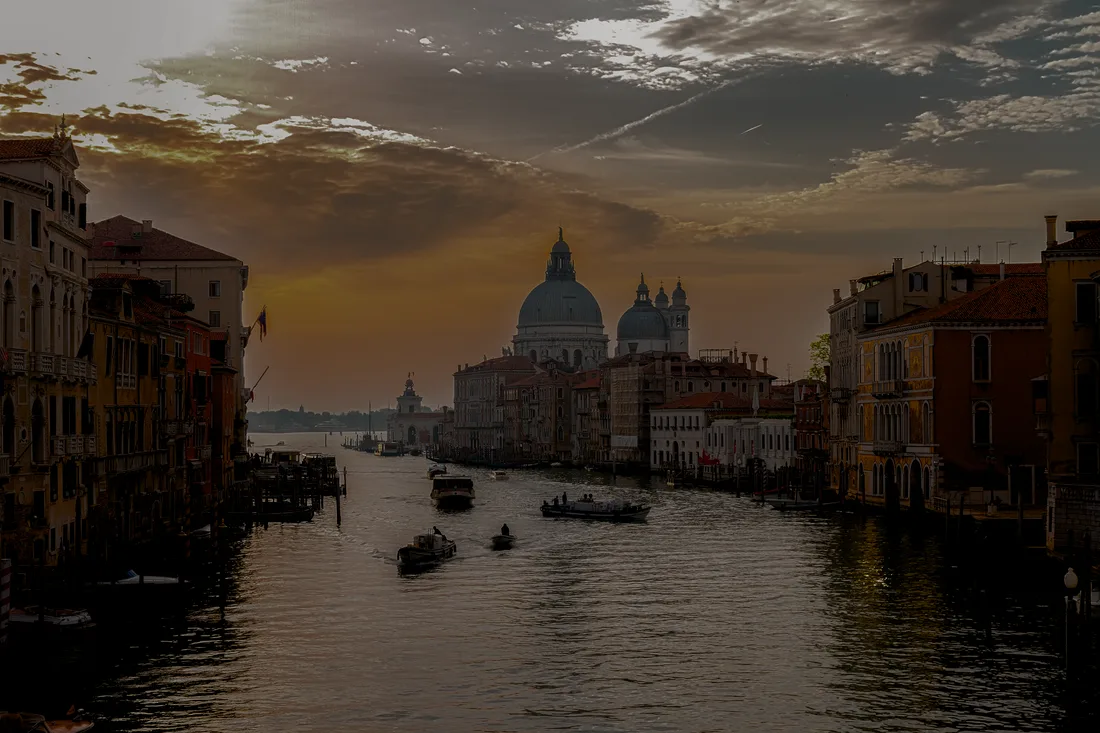
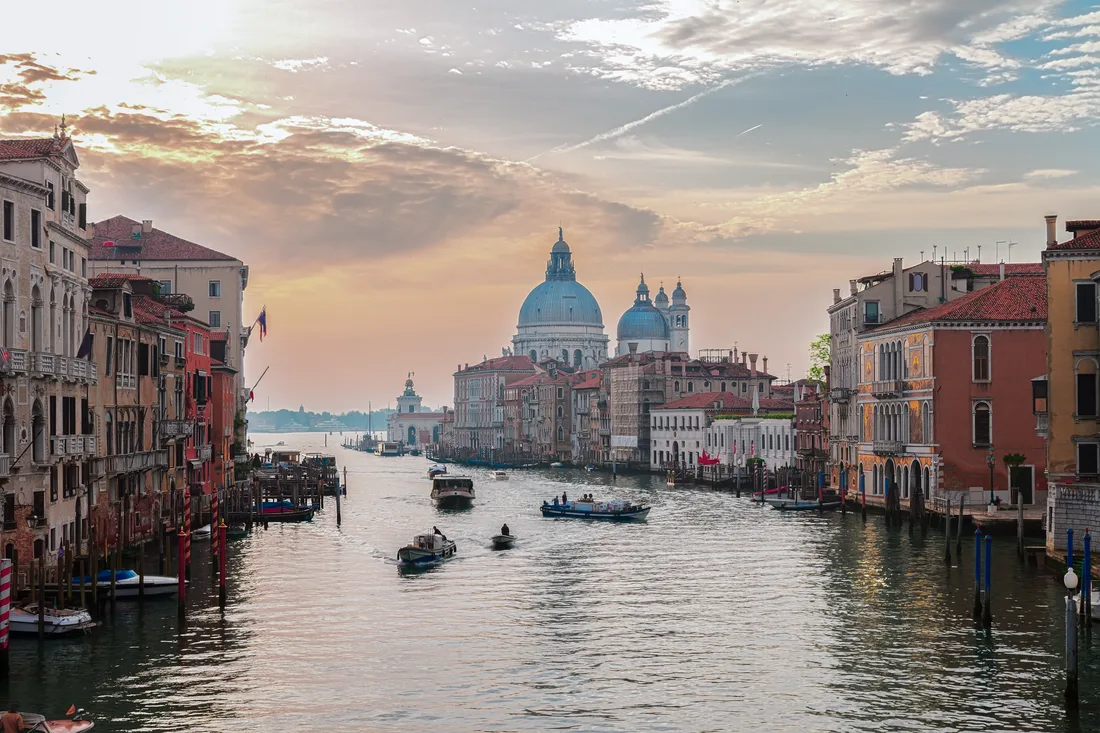
Every digital sensor has a limited dynamic range — the spread between the darkest shadow detail it can record above its noise floor and the brightest highlight it can hold before clipping to solid white. A modern full-frame sensor typically covers somewhere around 12 to 14 stops in good light; a smaller phone or compact-camera sensor usually covers less. A high-contrast scene, on the other hand, can easily exceed that: point a camera through a doorway at a sunlit street, into a room with a bright window behind the subject, or at a sunset with dark foreground silhouettes, and the range between the darkest and brightest parts of the frame can run past 18 or 20 stops. Meter for the shadows and the sky burns out to featureless white. Meter for the highlights and the shadows sink to solid black, with nothing left to recover even from RAW.

Auto exposure bracketing solves this by capturing the scene more than once. Instead of picking a single exposure and hoping it's a reasonable compromise, the camera fires a short burst — usually three, five or seven frames — stepping the exposure up and down around what the meter reads as correct. One frame protects the highlights, one protects the shadows, and any frames in between fill out the middle of the range. Because AEB only changes exposure — almost always by varying shutter speed, leaving aperture and ISO fixed — depth of field and the amount of visible noise stay consistent from frame to frame. That consistency matters once you get to the merge: wildly different noise levels or focus falloff between frames make alignment and blending noticeably harder.

It's worth being clear about what AEB is not. It isn't the same as a camera or phone's built-in automatic HDR mode, which blends several exposures into a single JPEG in-camera, with no control over the result and usually no separate frames left afterward. AEB gives you the raw ingredients instead — full-resolution, individually adjustable RAW files — and leaves the merge for later, on a computer or a phone, where you (or an app) can control exactly how the blend looks. More control in exchange for an extra step is the whole reason bracketing exists as a distinct feature from automatic HDR.

How to enable AEB on your camera

Canon

On EOS R-series bodies — including the EOS RP, the camera most of our own bracket testing was shot on — AEB lives in the red Shooting menu: Menu → Shooting tab (usually the third or fourth red page; it varies slightly by body and firmware) → Expo.comp./AEB. Turn the rear dial to set the bracket width — up to ±3 EV in 1/3-stop increments on most EOS R bodies — then press SET to confirm.

Screenshot placeholder — real UI not captured yet
assets/img/guide-canon-aeb-menu.webp
Canon EOS R-series: Shooting menu → Expo.comp./AEB

Dialing in the bracket width doesn't fire all three frames by itself — you still need a drive mode that lets one shutter press run through the whole set. Set the drive mode to high-speed continuous (or continuous plus self-timer, if you'd rather keep your hands off the camera during the burst) so a single press, or one held burst, captures the full bracket without you touching a dial mid-sequence.

Screenshot placeholder — real UI not captured yet
assets/img/guide-canon-drive-mode.webp
Pair AEB with a continuous drive mode so one press captures the whole set

Two Canon-specific things worth knowing before you shoot: AEB clears itself on some bodies when the camera powers off (check the AEB auto-cancel custom function if you want the setting to persist), and any exposure compensation you've dialed in separately stacks on top of the bracket, shifting the whole three-shot spread up or down together. Reset exposure compensation to zero first, unless that shift is deliberate.

Sony

On Sony Alpha bodies, bracketing is a Drive Mode setting rather than something buried in a menu: press the Drive Mode button (or find it through the function menu) → Cont. Bracket for a fast burst, or Single Bracket if you'd rather trigger each frame yourself → choose the EV step (0.3, 0.5, 0.7, 1.0, 2.0 or 3.0 EV) and the frame count — 3 or 5 on most bodies, with some newer Alpha cameras extending continuous bracketing up to 9 frames for finer HDR work. Hold the shutter in continuous bracket mode and the camera fires the whole set at its normal burst rate, which makes handheld bracketing especially easy on Sony.

Nikon

Nikon splits across two interfaces depending on the body. DSLRs and some Z-series cameras have a dedicated BKT button, usually near the lens mount or on the top plate — hold it while turning the main command dial to set the number of shots, and the sub-command dial to set the EV increment. Bodies without a physical BKT button do the same thing through a menu instead: Photo Shooting Menu → Bracketing/flash → Auto bracketing set, where you choose the number of shots and the step size. Nikon defaults to a 0/−/+ bracket order, which you can flip to −/0/+ in the same menu if you'd rather your frames come out in ascending exposure order.

Fujifilm

On Fujifilm X-series and GFX bodies, flip the drive dial (or press the Drive button, on bodies without one) to BKT, then set the spread in the shooting menu: Shooting Setting → AE BKT. Fujifilm's AE bracketing runs a fixed 3 frames, with the EV step selectable from ±1/3 up to ±3 EV. It fires the three frames on successive shutter presses in single-shot drive mode, or in one continuous burst if the drive mode is set to continuous — worth checking before you shoot handheld, since three separate deliberate presses introduce noticeably more frame-to-frame drift than one held burst.

Choosing EV steps and frame counts

Scene contrastFramesSpacing
Low (overcast, indoor, even light)2–31–2 EV
Moderate (bright sky with a shaded foreground)3–52 EV
Extreme (interiors with bright windows, sunsets, twilight)5–72–3 EV

A 3-frame bracket at −2 / 0 / +2 EV is the default that covers most real-world scenes, and it's the sensible starting point if you're not sure yet how much range you'll need — you can always step up to five or seven frames once you see a scene is fighting you. Wider spacing with too few frames can leave a visible gap in extreme cases (a hard three-stop jump between just two frames, for instance), so if a scene needs more than about 4 EV of total spread, add frames rather than only widening the steps between them.

Shoot RAW, always. You are pushing tonal range hard in the merge, and RAW holds far more recoverable detail in the highlights and shadows than JPEG does — a JPEG bracket set will clip and posterize in exactly the areas a merge is meant to save. There is a point of diminishing returns on frame count too: beyond about seven frames you are mostly adding storage and merge time rather than meaningfully more dynamic range, since a well-exposed middle frame already captures a healthy chunk of what a modern sensor can hold.

Handheld or tripod?

A tripod gives perfect frame-to-frame registration, which used to be the only reliable way to shoot a bracket set — but modern alignment algorithms handle handheld brackets well enough that a tripod is no longer a requirement for most scenes. The alignment step in a merge tool corrects the small shifts between frames automatically, so what matters more than a tripod is technique: use a continuous high-speed drive mode so the whole set fires in well under a second, brace your elbows or lean against something solid, and keep your base shutter speed reasonably fast across the set, bumping ISO if you have to rather than letting any one frame drop into blur-risk territory.

Where a tripod still earns its place: long-exposure blends (waterfalls, night skies), telephoto shots where even small hand-shake is magnified by focal length, and scenes with strong moving elements — water, leaves, people walking through frame — where deghosting has less frame-to-frame consistency to work with if the whole scene is also drifting from handheld motion. For everything else, a fast burst and a decent merge tool with alignment built in is enough.

What to do with the brackets: merging

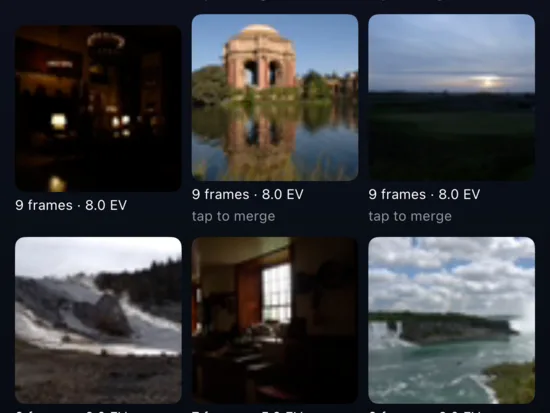
Bracketed frames are only half the job — on their own they are just three, five or seven separate exposures sitting in your library. They need to be merged into one image that keeps the recovered highlights and the recovered shadows together. You can do this manually, selecting each set yourself in Lightroom or a dedicated tool (see our Mac merging tutorial for the full manual and automatic options), or you can skip the hunting entirely: MergeHDR reads the EXIF signature of an AEB set as it lands in your photo library and offers the merge automatically — no manually finding and selecting each bracket, no importing into a separate app.

See how MergeHDR works

Frequently asked questions

How many exposures do I need for HDR?

Three is enough for most everyday scenes — a −2/0/+2 EV bracket. Move up to five or seven frames for extreme contrast: interiors with bright windows, sunsets, or scenes with deep shadow and a blown-out sky in the same frame.

Does AEB work handheld, or do I need a tripod?

Handheld works for most scenes. Use a continuous high-speed drive mode so the whole burst fires in under a second, and let alignment in your merge software correct the small shifts. Save the tripod for long exposures, telephoto shots, and scenes with a lot of movement.

Is AEB the same as iPhone Smart HDR?

No. Smart HDR is computational and automatic — it blends frames the instant you take a photo with the iPhone's own camera, with no separate files left over. AEB gives you real, individually adjustable exposures that you (or an app) merge yourself, with full control over the result.

Should I bracket in RAW or JPEG?

RAW, always. A merge pushes tonal range hard, and RAW holds far more recoverable detail in the highlights and shadows than JPEG — a JPEG bracket clips and posterizes in exactly the areas you're trying to save.

What EV spacing should I use as a default?

Two EV between frames is the standard starting point — a 3-frame bracket at −2/0/+2 EV covers most real-world scenes. Widen the spacing or add frames only once you see a scene is fighting that default.

Why does my bracket look misaligned or ghosted after merging?

Usually either handheld drift beyond what alignment can correct, or a moving subject — water, leaves, people — that landed in a different place in each frame. A faster burst reduces drift; a higher deghosting level in your merge tool handles moving subjects.

Can I bracket with flash or in continuous burst modes at the same time?

Most cameras disable or restrict AEB when flash is active, since flash exposure does not vary the same way as ambient exposure across a burst. For flash-lit HDR work, most photographers vary ambient exposure only and let the flash stay constant across frames.

Let MergeHDR find your brackets.

MergeHDR watches your photo library, detects your exposure brackets automatically, and offers the merge — on-device, no uploads.