Automatic bracket detection
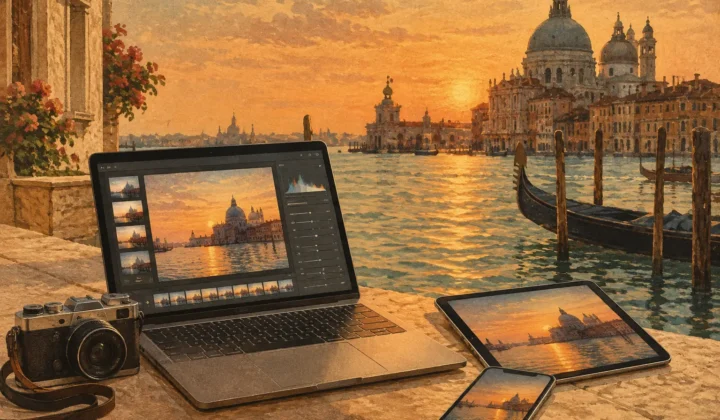
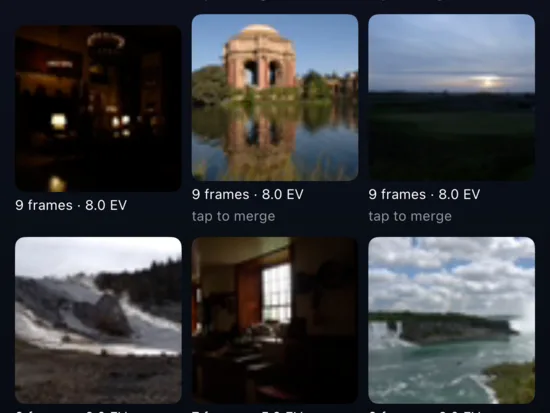
MergeHDR watches your library for exposure-bracket sets shot seconds apart, spotting 3-, 5- and 7-frame AEB groups by their EXIF signature — no manual sorting, no missed brackets.
MergeHDR watches your photo library, finds your exposure brackets, and offers the merge — you just approve.
MergeHDR quietly scans new photos in your library for exposure-bracket sets — 3, 5 or 7 frames shot seconds apart at different EVs — and flags every one it finds.
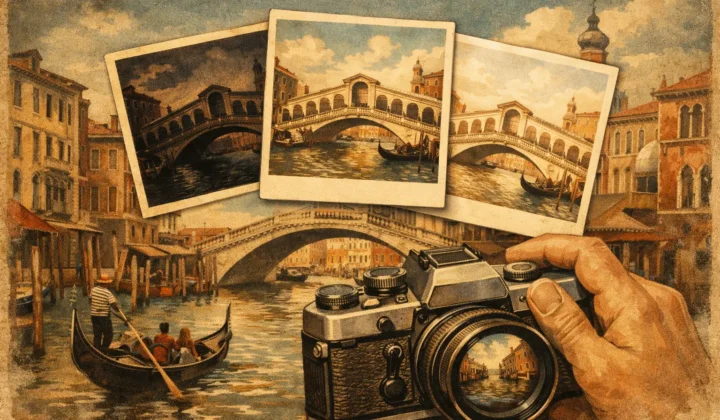
Review the set, choose alignment, a deghosting level and a tone-mapping style, then merge — every pixel processed right there on your Mac, iPhone or iPad.
Save the full HDR result, or compress it straight to HEIC with the RAWtoHEIC (opens in a new tab) pipeline — ready for your library in seconds.
A bright midday sky and a shaded foreground can span more dynamic range than any camera sensor captures in a single frame. Expose for the sky and the foreground goes black; expose for the foreground and the sky burns out to white. That's why so many photographers shoot auto exposure bracketing — three, five or seven frames at different EVs, from two stops under to two stops over — capturing the shadows in one shot and the highlights in another. The catch is what happens next: combining bracketed exposures into one natural-looking image means hunting through your library for the frames that belong together, then merging them by hand in a separate app. MergeHDR skips the hunting. It finds every bracket set on its own and hands you a finished HDR image to approve.
From finding the bracket set to shrinking the finished file, MergeHDR handles the whole chain — detection, alignment, deghosting, tone-mapping and export — so the only decision left to you is which look you like best.
MergeHDR watches your library for exposure-bracket sets shot seconds apart, spotting 3-, 5- and 7-frame AEB groups by their EXIF signature — no manual sorting, no missed brackets.
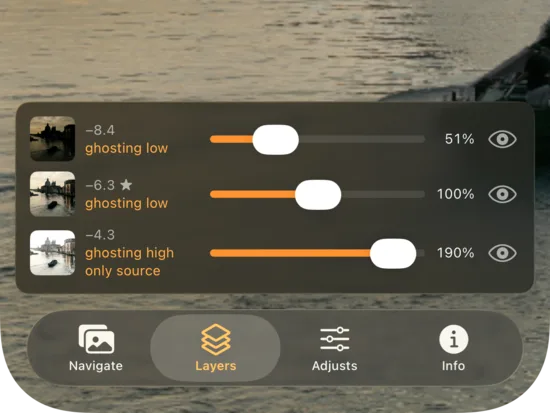
Four deghosting sensitivity levels catch moving subjects, rippling water and windblown leaves, so a shifting scene between exposures merges cleanly instead of leaving ghostly outlines behind.
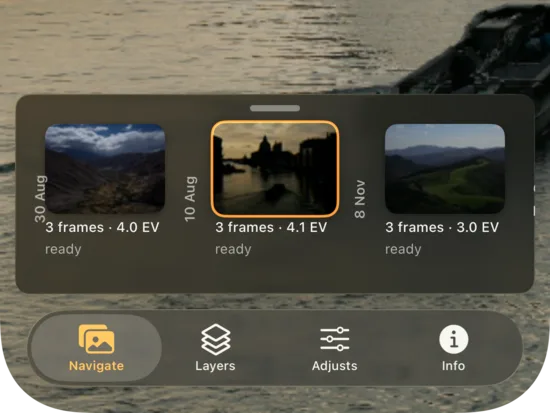
Handheld brackets are welcome. MergeHDR aligns frames automatically, correcting the small shifts between shots — no tripod, no manual nudging, no wasted brackets.
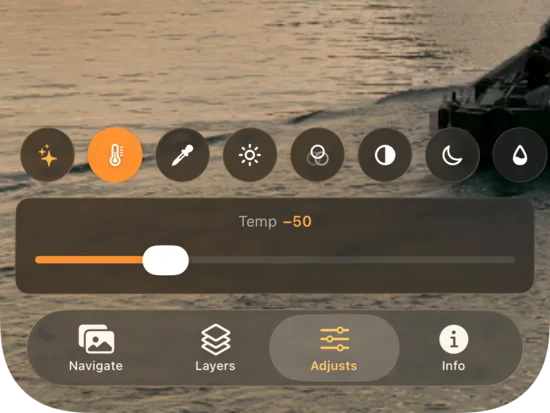
Pick natural, vivid or dramatic tone-mapping, and switch styles after the merge is done — without reprocessing the whole bracket set from scratch.
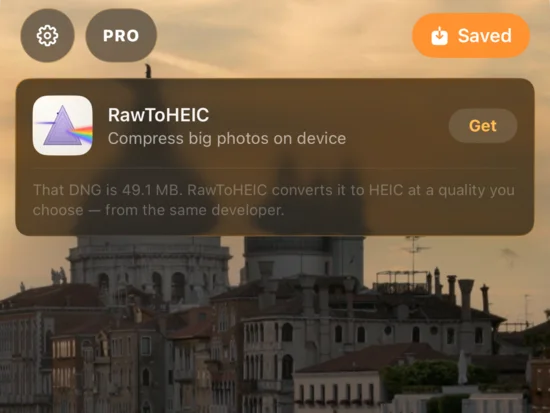
Export the full merged result, or compress it straight to HEIC using the same pipeline that already powers RAWtoHEIC (opens in a new tab) — smaller exports, same detail.
Every merge runs on your Mac, iPhone or iPad. Nothing uploads, nothing syncs through a server — your photos never leave your device.
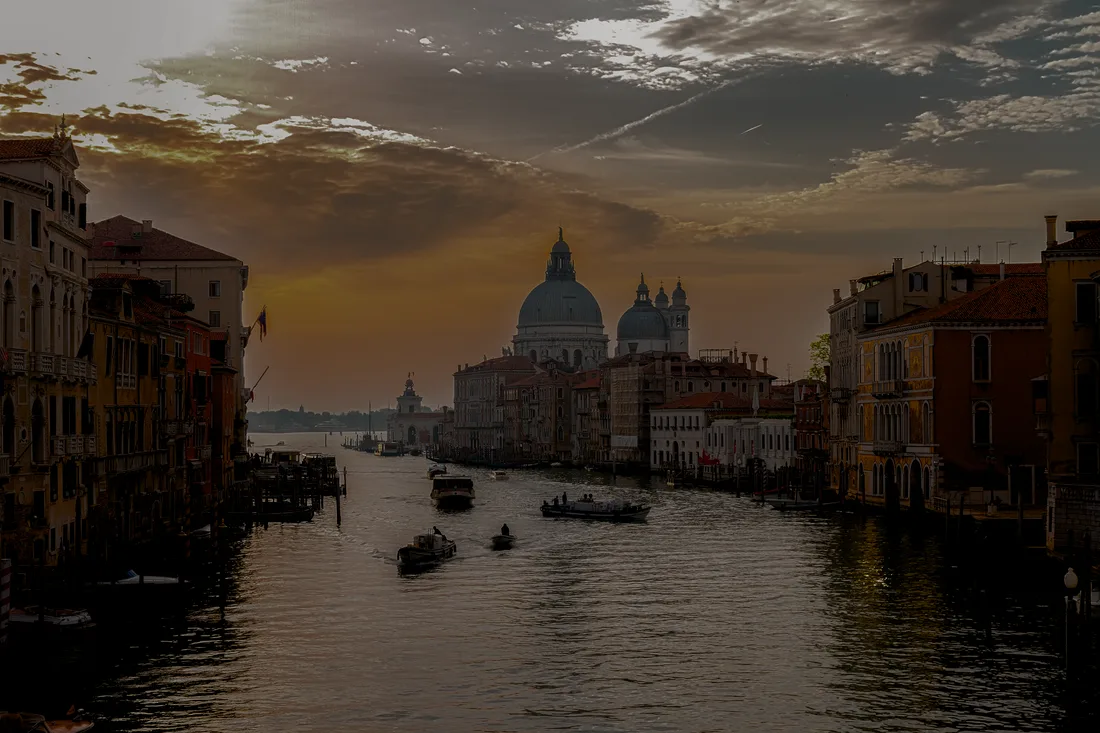
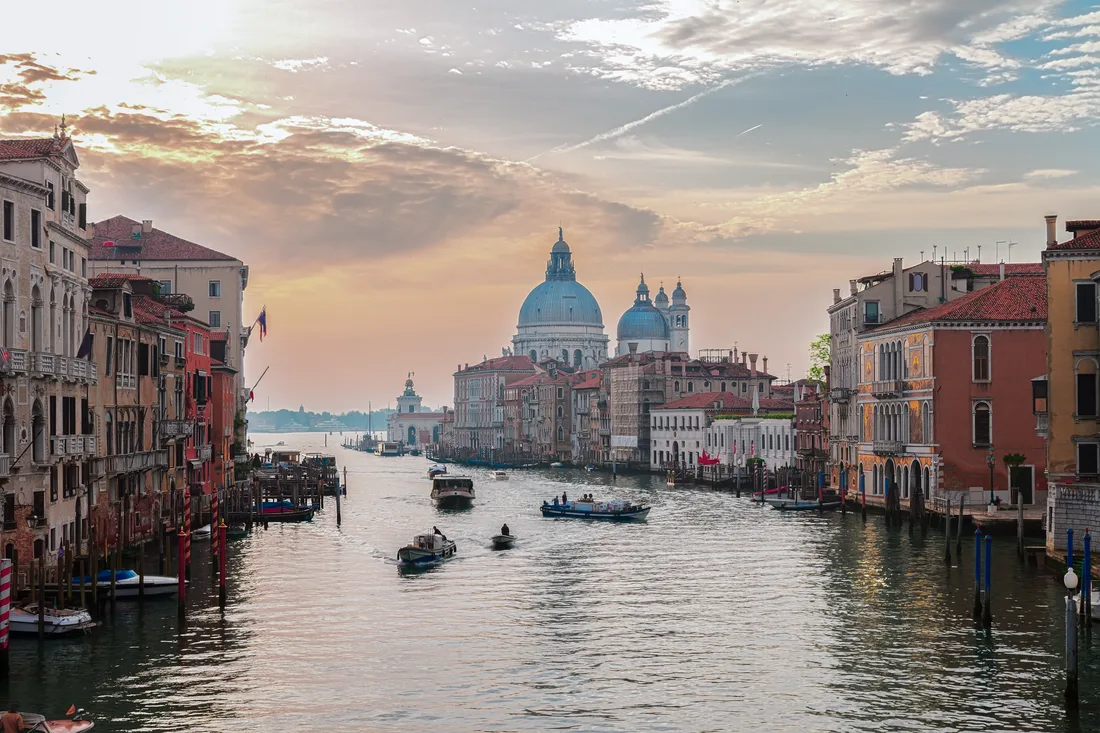
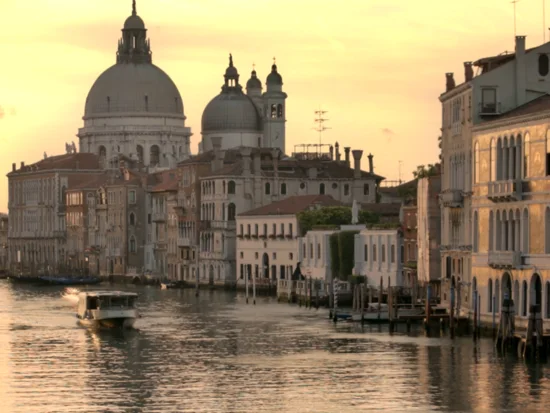
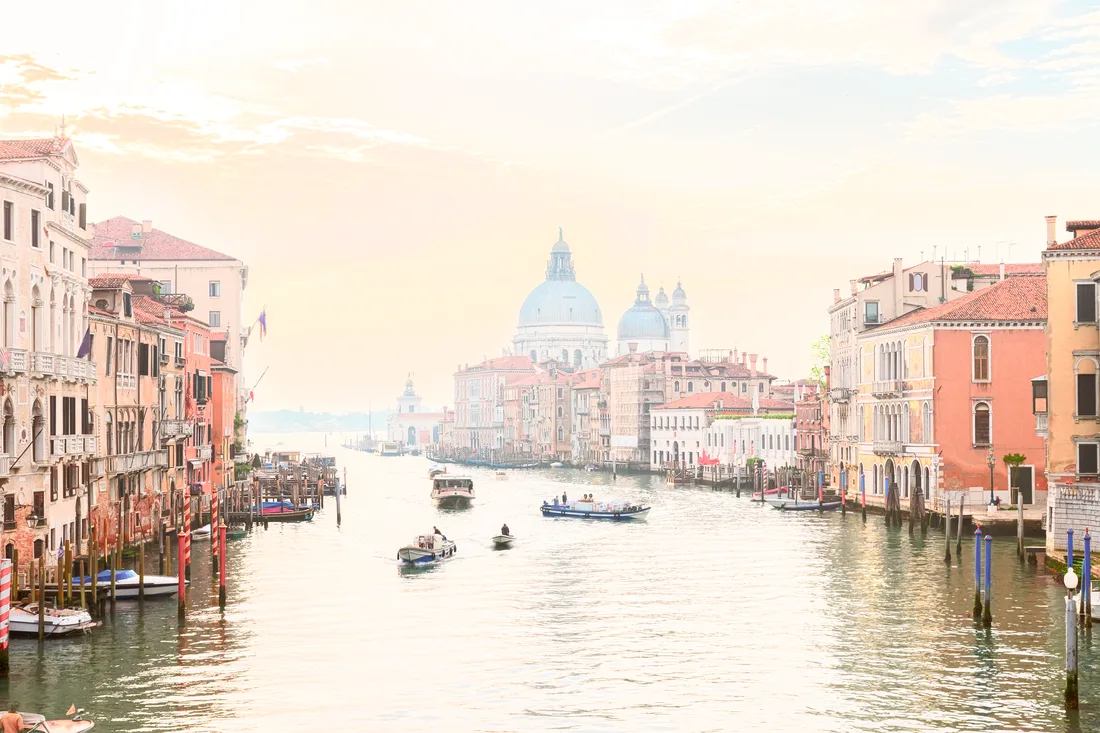
One exposure vs. the merged result — sweep across it to compare, or use the arrow keys once the handle is focused.
 +2 EV
+2 EV
 Merged HDR
No cloud, no accounts, no uploads. Every merge — detection, alignment, deghosting and tone-mapping — runs locally on your Mac, iPhone or iPad. It works on a plane with no signal, and nobody but you ever sees the originals or the merged result. There's no server to breach, because there's no server involved: your bracket sets stay exactly where you shot them. The App Store privacy label reads what it should: Data Not Collected.
No. Detection, merging and export all run on your device — Mac, iPhone or iPad. Nothing is uploaded, and there's no account or server involved.
MergeHDR reads EXIF data as photos are added to your library, groups frames shot seconds apart at different exposure values, and flags 3-, 5- or 7-frame sets as brackets ready to merge.
MergeHDR shares its export pipeline with our other app, RAWtoHEIC (opens in a new tab), so a merged HDR result can be compressed straight to a space-saving HEIC file on export.
Shorter notes on bracketing, HDR and getting more out of your library — new ones go up regularly.
Learn how to process HDR locally with automatic bracket detection, alignment, deghosting, tone mapping, and private full-resolution on-device exports.
How many photos for HDR should you shoot? Learn when 3, 5, or 7 bracketed exposures deliver clean highlights, shadows, and natural-looking…
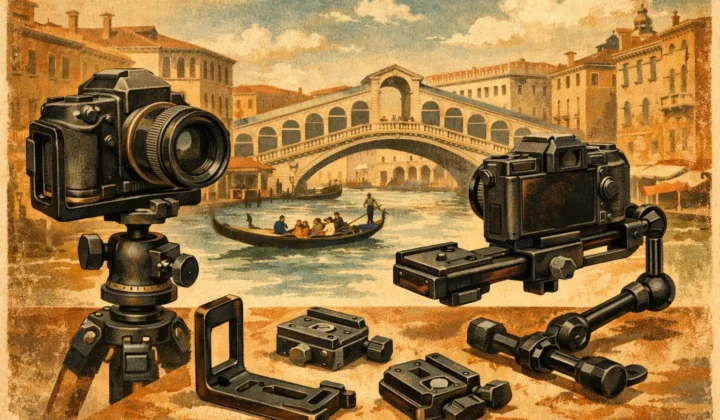
Compare the best tools for camera brackets, from reliable capture setup to local HDR merging, with faster sorting, alignment, deghosting, and export.
Free to try, on-device by design — unlimited saves are $19.99 once or $9.99/year on iPhone, iPad and Mac.
Built by the same maker, for the same photo library.
 RawToHEIC
Convert RAW to HEIC and reclaim your storage — without leaving Apple Photos.
Learn more
RawToHEIC
Convert RAW to HEIC and reclaim your storage — without leaving Apple Photos.
Learn more
 Filters
Find any photo by its colour — analysed on your device, nothing uploaded.
Learn more
Filters
Find any photo by its colour — analysed on your device, nothing uploaded.
Learn more
 Photo Geotag
Put photos with no location back on the map, from the geotagged shots around them — on-device.
Learn more
Photo Geotag
Put photos with no location back on the map, from the geotagged shots around them — on-device.
Learn more