How to Merge Exposure Brackets Without Busywork
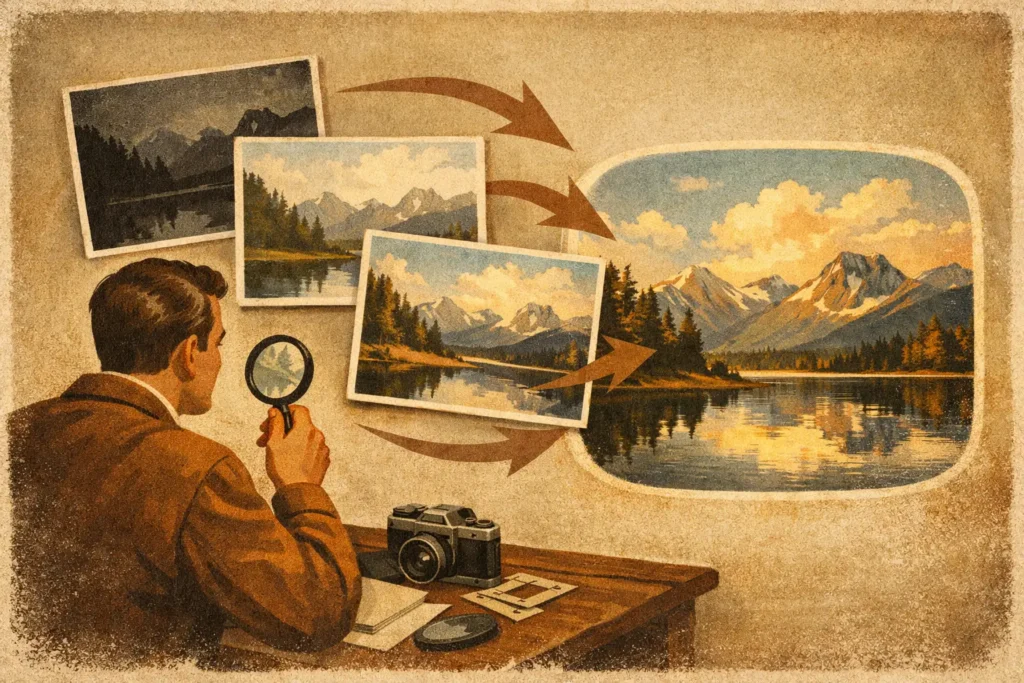
A bright window behind a dim interior can defeat even a well-exposed photo. Expose for the room and the view turns white. Expose for the view and the room drops into shadow. Learning how to merge exposure brackets solves that problem by combining the usable highlight, midtone, and shadow detail from several exposures into one balanced HDR image.
The goal is not an obviously processed image. A good HDR merge should look like the scene felt when you were standing there: preserved sky detail, readable shadows, clean window views, and believable contrast. The process is straightforward once the bracket set is identified correctly and the frames are aligned before tone mapping.
Start with a usable bracket set
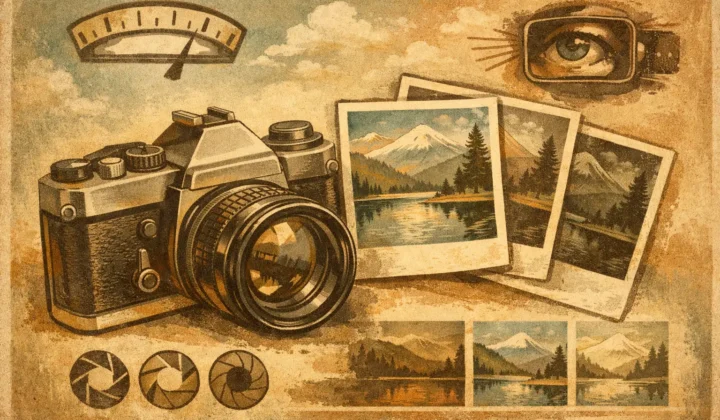
Exposure bracketing means photographing the same composition at different exposure values, usually with auto exposure bracketing, or AEB. A common three-frame sequence might include a dark exposure for highlights, a middle exposure for general tones, and a bright exposure for shadows. Five- and seven-frame brackets give the merge more latitude in scenes with very bright windows, direct sun, or deep interior shadow.
The frames need to represent the same moment. Shoot them in a burst when possible, keep the camera still, and avoid changing focus, focal length, or composition between exposures. A tripod gives the cleanest source material, particularly for architecture, twilight landscapes, and real-estate interiors. Handheld brackets can still merge well if they are captured quickly and the software aligns them accurately.
Use enough exposure range to protect the extremes of the scene, but do not bracket simply because the option is available. A low-contrast overcast landscape may need one carefully exposed frame. A sunset over a shaded foreground may need three or five. In an interior with sunlit windows, a wider range often prevents both clipped exterior detail and muddy shadows.
Check for clipping before you leave the scene. If the brightest frame still loses all detail in a window or cloud, the bracket cannot restore it later. Likewise, if the brightest exposure has no useful shadow information, the final image will have less to work with.
How to merge exposure brackets in three steps
The practical workflow is Detect, Merge, Export. The software should do the repetitive work, while you make the decisions that affect the final image.
1. Detect related frames
The first challenge is often not HDR processing. It is finding the correct files in a large photo library. A day of shooting can contain hundreds of images, with brackets sitting beside test shots, alternate compositions, and ordinary single frames.
Look for sequences captured seconds apart with the same composition and distinct exposure values. EXIF metadata is the reliable signal here: it records details such as capture time, shutter speed, aperture, ISO, and exposure compensation. A purpose-built workflow can use that information to automatically recognize three-, five-, and seven-frame AEB sets.
This is where no manual sorting matters. Instead of selecting near-identical thumbnails one group at a time, confirm that the detected sequence is the intended scene. If you shot several variations from the same position, inspect the preview and choose the sharpest, least interrupted set.
2. Align and merge the exposures
Even slight camera movement changes pixel position from frame to frame. A handheld bracket may shift by only a few pixels, but that is enough to create double edges around buildings, tree lines, furniture, or horizon details. Alignment registers the frames before their tonal information is combined.
After alignment, the merge engine draws highlight detail primarily from darker exposures and shadow detail from brighter ones. It also uses the middle exposure to preserve natural midtones. The resulting HDR image contains a wider range of scene information than any single source frame.
Alignment is essential, but it cannot fully solve subject movement. Leaves fluttering in wind, moving water, pedestrians, cars, and people walking through an interior can create ghosting. That is why deghosting matters.
Choose the deghosting level based on the scene. Minimal deghosting is often best for a still landscape on a tripod because it preserves fine detail. Stronger deghosting helps when foliage moves, flags shift, or people cross the frame. More correction can sometimes smooth or simplify fine moving textures, so use the lowest setting that removes visible duplicates.
For water, the right choice depends on your intent. If each bracket was captured rapidly and the water movement is slight, modest deghosting may retain a natural texture. If waves changed substantially between exposures, a stronger setting can prevent fragmented patterns, though a single exposure may be preferable when the movement is the subject.
3. Tone map for a believable result
The merged HDR file contains the tonal data, but tone mapping determines how that data appears on a normal display or in a standard export. This is the stage where an image can look restrained and realistic, bold and vivid, or dramatically compressed.
Start with a natural tone map for real estate, architecture, travel images, and scenes where color accuracy matters. It should retain window detail and shadow information without turning neutral walls gray or flattening the scene. Use a vivid look when the image benefits from stronger color and local contrast, such as a sunset landscape or a colorful city scene. A dramatic treatment can suit stylized work, but it is easy to overdo halos, crunchy foliage, or exaggerated texture.
Watch the edges between bright and dark areas. Halos around mountains, rooflines, trees, and windows are a common sign of overly aggressive local contrast. Also inspect shadows at 100 percent. HDR should reveal information, not amplify noise or make a clean black surface look washed out.
Choose the right source files and output
For the most editing latitude, start with the highest-quality files your camera provides. RAW brackets can offer greater control over white balance, noise, and tonal recovery. JPEG or HEIC brackets can still produce excellent HDR output when exposure spacing is sufficient and the scene is not extremely demanding.
Keep white balance consistent across the sequence. Auto white balance can shift between frames in difficult light, especially indoors with mixed daylight and artificial fixtures. Consistency reduces the chance of color shifts during merging.
When the image is finished, export according to where it will go next. A full-resolution image is the sensible choice for printing, client delivery, cropping, or continued editing. HEIC is useful when you want high quality with a smaller file for your Apple photo library. Before export, verify the image at full size for window edges, moving subjects, noise in lifted shadows, and color casts.
A faster HDR workflow on Apple devices
A useful HDR workflow should not force you to send personal photos to a remote server just to combine exposures. Local processing keeps travel photos, property interiors, client work, and family images on your device. Nothing uploads, and there is no account required to identify and process the bracket sets.
MergeHDR is built around that approach for Mac, iPhone, and iPad: it detects bracket groups from photo metadata, aligns the frames, offers four deghosting levels and natural, vivid, or dramatic tone mapping, then exports the finished image back to your library. The advantage is operational rather than theoretical: no manual sorting, no wasted brackets, and a full-resolution HDR result ready for your library in seconds.
When not to merge brackets
HDR is not automatically better than a single exposure. If the scene has limited contrast, one frame may retain more natural microcontrast and avoid any risk from movement. A single exposure is also usually the better choice for fast action, portraits with subtle expression changes, wind-driven grass close to the camera, or scenes where a long exposure is part of the intended look.
Similarly, do not use HDR to rescue fundamentally poor capture technique. Blown highlights with no information cannot be reconstructed, and underexposed frames with heavy noise may weaken the final result. Bracketing works best as deliberate insurance for a scene whose brightness range exceeds what one exposure can hold.
The next time a bright sky, reflective water, or sunlit window pulls your exposure in two directions, capture the range instead of compromising on one frame. A clean merge gives you the option to preserve what your eyes saw, then decide exactly how natural or expressive the final photograph should be.
Let MergeHDR find your brackets.
MergeHDR detects exposure brackets in your photo library and merges them into HDR photos on-device — keeping every edit, album, favorite, and location. No account; free to try, with unlimited saves for $19.99 once or $9.99/year on iPhone, iPad, and Mac.