How to Merge Bracketed Photos Automatically
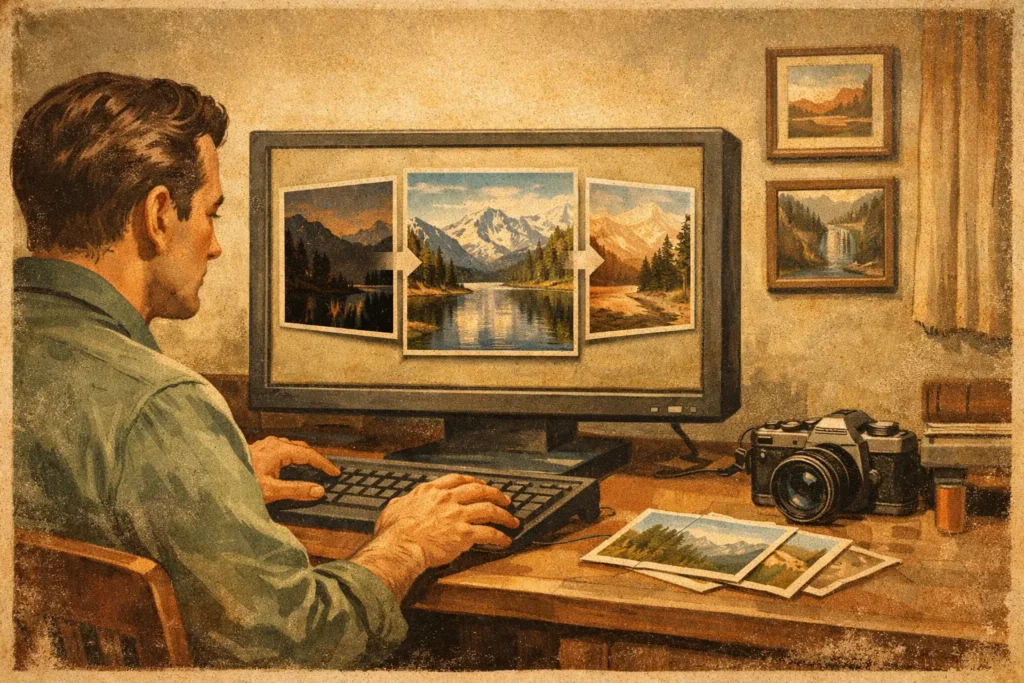
A bright window behind a dim interior, a sunset over a shaded foreground, or a white building under a dark storm cloud can exceed what one exposure can hold. If you already shoot auto exposure brackets, the hard part is often what comes next: finding each set, checking frame order, and combining it without wasting time. The better workflow is to merge bracketed photos automatically, using the exposure data already stored with your images to turn separate frames into one finished HDR photo.
Why a Single Exposure Can Fall Short
A camera sensor has limits. Expose for the sky and the foreground may lose useful shadow detail. Expose for the foreground and highlights in clouds, windows, or light fixtures can clip to white. Bracketing solves the capture problem by recording the same composition at several exposure values, commonly three, five, or seven frames.
The darker frames protect highlights. The brighter frames preserve shadow information. A correctly merged HDR image uses the best-exposed detail from each frame, then maps that expanded range into a photo that looks right on a screen or in print.
That sounds straightforward until a shoot produces hundreds of photos. A travel day might include a mix of single exposures, bursts, panoramas, and bracket sets. A real-estate shoot may contain room after room of window views and interior brackets. Manually sorting every sequence is slow, and a single missed frame can weaken the merge.
How to Merge Bracketed Photos Automatically
The useful automation begins before tone mapping. A capable HDR workflow should identify actual auto-exposure-bracketing sequences, not simply group photos that happen to be near each other in time.
Detect the bracket set
Automatic detection reads EXIF metadata from your photo library. It looks for the exposure settings, capture order, and timing patterns that identify a 3-, 5-, or 7-frame bracket. That separates intentional brackets from unrelated photos taken seconds apart.
This is the difference between automatic grouping and blind batching. If you photographed a landscape bracket, then took a quick reference shot, the reference image should not become part of the HDR merge. Accurate EXIF-based detection means no manual sorting and fewer bad combinations to correct later.
Merge the frames
Once a set is found, the merge engine aligns the frames and combines their usable exposure data. Alignment matters even when a camera was on a tripod. A light touch on the shutter, a gust of wind, or small camera movement between exposures can shift fine edges by a few pixels. Without correction, rooflines, branches, and window frames may look soft or doubled.
For handheld brackets, alignment becomes even more important. Modern alignment can correct modest movement well, provided the composition remains consistent across the sequence. It is not a substitute for careful capture, but it makes fast, practical bracketing far more usable in the field.
Export the finished HDR image
After the merge, choose the final rendering and save a full-resolution image or an efficient HEIC file back to your library. The result is ready for your existing Apple Photos workflow instead of trapped inside a separate editing catalog.
MergeHDR follows this Detect, Merge, Export approach on Mac, iPhone, and iPad. The processing stays on your device. Nothing uploads, no account is required, and your image data is not collected.
Alignment Is Only Half the Problem
Camera movement can be corrected. Subject movement is different.
If leaves move between exposures, water ripples, cars pass through a street scene, or people walk across an interior, each frame contains conflicting visual information. Combining those areas without protection creates ghosting: translucent people, doubled tree branches, or rippled edges that should be sharp.
Deghosting tells the HDR merge how aggressively to handle those differences. A low setting can retain more detail when a scene is mostly still. A higher setting is often better for foliage in wind, moving water, traffic, or people. Four deghosting levels provide meaningful control without forcing you into a complicated masking workflow.
There is a trade-off. Stronger deghosting can favor one frame in moving areas, which may reduce the extra shadow or highlight recovery available there. That is usually preferable to obvious ghosts, especially in architectural, travel, and real-estate images. The best setting depends on the scene, not on a fixed rule.
Tone Mapping Sets the Final Look
Merging brackets creates a high-dynamic-range source image. Tone mapping determines how that range is displayed in the final photo.
A natural treatment is often the right starting point for architecture, interiors, documentary travel photography, and landscapes where you want the result to resemble the scene as it felt. Highlights retain shape, shadows open up, and local contrast stays controlled.
A vivid treatment can give color and midtone separation more presence. It works well when a file needs a little more energy without moving too far from a photographic look. A dramatic treatment increases contrast and visual impact more noticeably, which can suit storm clouds, textured landscapes, and deliberately stylized work.
None of these options is universally best. An interior with white walls and window light generally benefits from restraint. A late-day mountain scene may support a stronger rendering. Previewing alternate tone maps should be quick enough that you can judge the image, not guess from a slider label.
A Better Workflow for Common Bracketed Scenes
For real estate and architecture, bracket every room with bright windows in mind. Keep the camera steady, avoid changing focal length within a set, and wait for people to clear the frame when possible. Automatic detection then removes the repetitive task of identifying which exposures belong to each room. Use alignment for minor shifts and increase deghosting if trees or traffic are visible through windows.
For landscapes, watch moving foliage and water. A tripod helps, but it does not stop wind. Three-frame brackets are often enough for moderate contrast, while five or seven frames give more latitude in extreme sunrise, sunset, or backlit scenes. More frames can preserve more information, but they also increase the chance of movement. Use the smallest bracket sequence that covers the scene well.
For handheld travel photography, work quickly but consistently. Hold your framing through the full bracket, avoid recomposing between frames, and be realistic about busy subjects. A historic street with pedestrians may still merge well with stronger deghosting. A crowded scene where every person changes position may be better captured as a single exposure or with a different creative approach.
When Automatic Merging Needs a Review
Automation should remove repetitive work, not remove judgment. Review a merge when you see halos along high-contrast edges, unusual color shifts, soft detail around moving objects, or an overly flat result. Those issues do not always mean the bracket failed. A different deghosting level or tone map may solve them in seconds.
Also check whether the original sequence contains a true exposure range. If every frame is nearly identical, there is little extra highlight or shadow detail to recover. If one frame is badly blurred, interrupted by a person, or captured after the camera moved substantially, excluding it may produce a cleaner result.
The point is not to force every set into HDR. It is to make the good bracket sets fast to find, easy to merge, and simple to finish at full resolution.
The next time bright skies, windows, or deep shadows tempt you to compromise exposure, shoot the bracket. With local detection, alignment, deghosting, and a controlled final rendering, those frames can become a usable HDR image instead of another folder of unprocessed files.
Let MergeHDR find your brackets.
MergeHDR detects exposure brackets in your photo library and merges them into HDR photos on-device — keeping every edit, album, favorite, and location. No account; free to try, with unlimited saves for $19.99 once or $9.99/year on iPhone, iPad, and Mac.