HDR Software for Mac That Saves Every Bracket
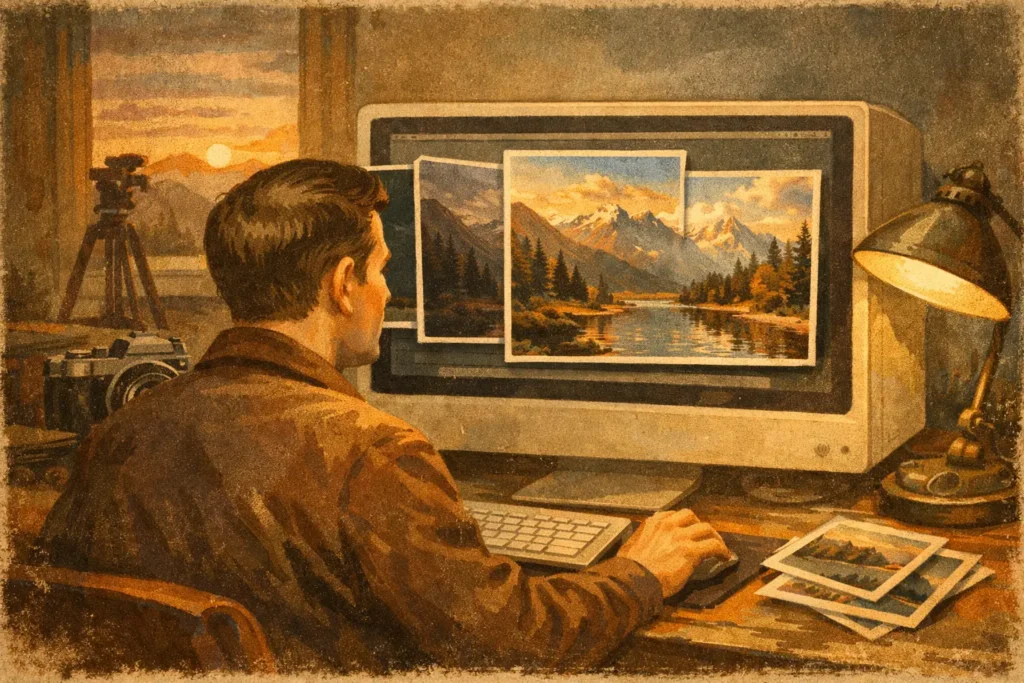
A bright window behind a dim interior can defeat a single exposure. Meter for the room and the sky outside turns white. Meter for the window and the furniture, walls, and corners fall into shadow. HDR software for Mac solves that specific problem by combining a bracketed set of exposures into one image with usable highlight and shadow detail.
The hard part is rarely taking the brackets. Modern cameras can capture a 3-, 5-, or 7-frame auto exposure bracketing sequence quickly, and iPhone photographers can work with high-contrast scenes just as often. The time drain starts afterward: finding related frames, confirming their order, aligning handheld shots, dealing with movement, and choosing a result that looks like a photograph rather than an effect.
The right Mac HDR workflow should remove those steps without taking away your control. It should recognize the bracket set, produce a clean merge, let you choose the look, and return a full-resolution image to your library. Nothing should require uploading a client interior, a family photo, or a travel shoot to a remote server.
Why HDR software for Mac matters in high-contrast scenes
A camera sensor records a limited range of brightness in one frame. In a landscape at sunrise, the sunlit clouds may be several exposure values brighter than the foreground. In real estate photography, exterior light pouring through windows can exceed the range of an interior by far more than one exposure can hold. Dark wood, white walls, reflective surfaces, and small practical lights make the scene even harder.
Bracketing gives the merge software source material for each part of that range. A darker frame protects highlights. A brighter frame reveals shadow detail. Middle exposures preserve the tones that make a scene feel balanced. The merged HDR image can retain detail in the sky, window view, and shaded foreground at the same time.
That does not mean every subject needs HDR. A flatly lit portrait, an overcast scene with moderate contrast, or a deliberately silhouetted subject may look better from one well-exposed frame. HDR is most useful when clipping is accidental rather than intentional and when the scene contains details you want viewers to see.
The workflow should begin with detection, not sorting
Many HDR editors assume you will create stacks yourself. That works for a small, carefully named shoot. It becomes tedious after a day of travel, a real estate session, or several camera card imports. Similar compositions can sit beside each other in the library, but visually similar frames are not necessarily a true bracket set.
EXIF-based bracket detection is more reliable because it uses the exposure information embedded by the camera. It can identify the related frames in 3-, 5-, and 7-image AEB sequences, then present the actual set ready to process. No manual sorting means fewer missed brackets and less risk of merging unrelated frames.
This matters when your library contains hundreds of images. A fast workflow does not ask you to remember whether the second and fifth frames were part of the same series. It finds the sequence, preserves the source files, and lets you focus on the image you are making.
Alignment protects detail in handheld brackets
Even a short AEB burst can include slight camera movement. A handheld camera shifts between frames. A tripod may settle after a shutter press. At wide angles, the movement can be subtle, but it still creates soft edges or double contours when exposures are combined without alignment.
Automatic frame alignment compensates for those small shifts before the HDR merge. It is especially valuable for travel photographers who do not always carry a tripod and for interior shooters working quickly from room to room. Alignment cannot rescue a completely different composition, but it can turn a usable handheld sequence into a clean result.
Deghosting handles what moved in the scene
Alignment fixes camera movement. Deghosting addresses movement inside the frame. Leaves in wind, water, passing cars, people crossing a lobby, and curtains near an open window can appear in different positions across the bracket sequence. Without deghosting, the merge may show transparent or duplicated objects.
The useful amount of deghosting depends on the scene. Low deghosting can preserve fine detail in mostly static landscapes. Higher settings are better when foliage, waves, or people move through a bright interior. More correction is not always better, because aggressive settings can alter detail in areas that did not need help. Four levels give you practical control without turning the merge into a technical project.
A practical HDR workflow: Detect, Merge, Export
A productive HDR app should follow the way photographers already work on Apple devices.
Detect
Import or browse the images already in your photo library. The software identifies compatible bracket sets from their EXIF exposure data, so you do not need to create stacks by hand. Review the detected set and confirm that it represents the scene you intended to merge.
Merge
Choose the tone mapping that matches the image. A natural look is usually the starting point for interiors, architecture, and landscapes where accurate color and believable contrast matter. Vivid can add more punch to color and midtone contrast. Dramatic is useful when the subject benefits from a stronger stylized treatment, but it can be too forceful for client work or scenes with people.
At this stage, automatic alignment and your selected deghosting level do the technical work. The goal is not to flatten every shadow or make every cloud look textured. It is to keep the detail that was present in the bracket while maintaining a believable sense of light.
Export
Export behavior affects whether an HDR tool stays useful after the first test. Full-resolution output is the practical choice for printing, client delivery, and later editing. HEIC export can be a sensible option when efficient storage and Apple-friendly sharing matter more than a larger file.
Your finished image should be ready for your library in seconds, while the original bracket frames remain available if you want to try a different tone map or deghosting setting later. That gives you room to make a creative decision without wasting the capture that gave you the range in the first place.
What to look for before choosing an HDR app
The best choice depends on how and where you shoot, but several capabilities separate an efficient HDR tool from a manual editor.
- Automatic bracket grouping: The app should identify exposure sequences from metadata rather than making you locate and stack frames one at a time.
- Local processing: Your photos should be processed on your Mac, iPhone, or iPad. Nothing uploads, and sensitive image data does not depend on an account or cloud queue.
- Alignment and adjustable deghosting: These features determine whether handheld brackets and moving subjects produce clean edges instead of artifacts.
- Practical tone mapping: Natural, vivid, and dramatic options cover different visual goals without forcing a single exaggerated HDR style.
- Full-resolution and HEIC export: You need output choices that fit both professional delivery and daily library management.
Complex desktop suites may be appropriate when you need layers, masks, pixel-level retouching, or elaborate compositing. They also introduce more decisions and more time between capture and delivery. If your regular task is combining valid exposure brackets cleanly, dedicated HDR software is often the better fit.
MergeHDR is built around that narrower, faster task. It detects brackets in your Apple photo library, processes every stage locally, aligns frames, offers four deghosting levels and three tone-mapping looks, then exports the result without a manual stacking workflow. The free trial lets you test the process with your own difficult scenes before choosing unlimited saves through a one-time purchase or annual plan.
Better capture creates better merges
Software can combine the information you captured, but it cannot reconstruct detail that is missing from every frame. Use a bracket range wide enough to protect the brightest important areas and reveal the darkest important areas. If the window view matters, make sure at least one exposure holds it. If foreground texture matters, make sure another exposure opens it up without excessive noise.
Keep the composition as stable as the scene allows. A tripod remains useful for architecture, blue-hour landscapes, and scenes where the bracket takes longer. For handheld shooting, use a quick continuous AEB sequence, brace yourself, and avoid reframing until the set is complete. When motion is unavoidable, capture a few extra sets so you have options.
A good HDR image should make viewers notice the room, landscape, or moment before they notice the processing. Start with the natural tone map, check bright edges and moving details at full size, and use stronger settings only when the scene genuinely calls for them. That small amount of judgment is what turns a saved bracket into a photograph worth keeping.
Let MergeHDR find your brackets.
MergeHDR detects exposure brackets in your photo library and merges them into HDR photos on-device — keeping every edit, album, favorite, and location. No account; free to try, with unlimited saves for $19.99 once or $9.99/year on iPhone, iPad, and Mac.