Handheld HDR Photo Alignment That Actually Works
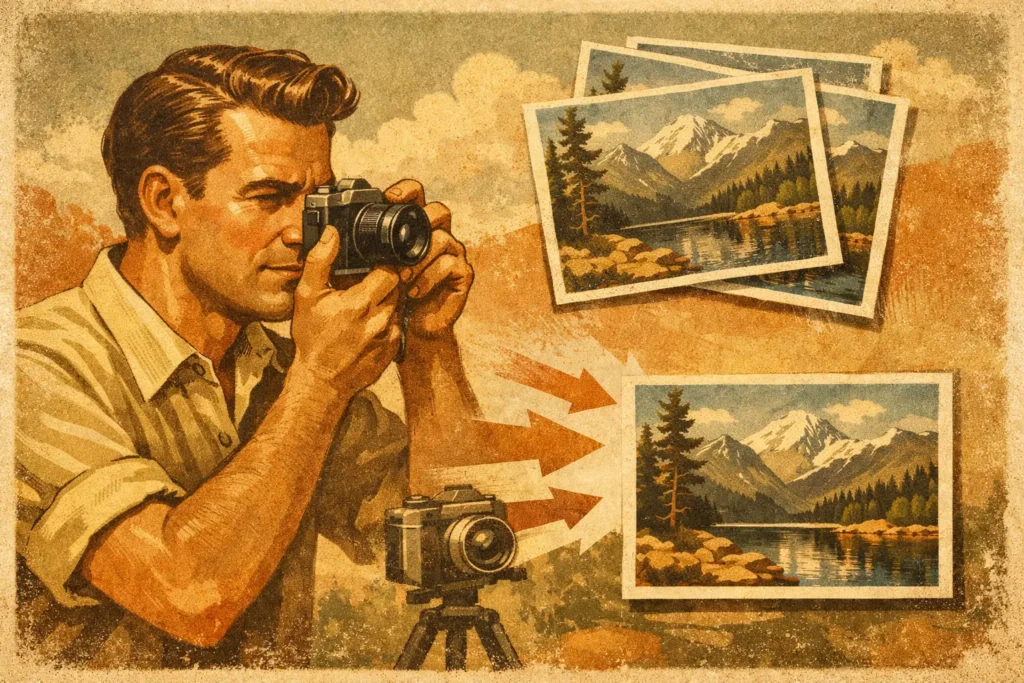
A three-frame bracket can be captured in less than a second, yet that short interval is enough for a handheld camera to shift a few pixels between exposures. That is the central problem handheld HDR photo alignment solves: placing every bracketed frame on the same geometry before recovering highlight and shadow detail.
For travel, real estate, architecture, and landscape work, a tripod is not always practical. You may be working quickly in a doorway, shooting from a trail, or capturing changing light before it disappears. Good alignment lets those brackets become one clean HDR image instead of a merge with soft edges, doubled window frames, or a faint halo around a roofline.
Why Handheld Brackets Need Alignment
Auto exposure bracketing changes exposure, not your position. Even with a fast burst, small rotation, lateral movement, and hand tremor cause the scene to land in a slightly different place in each frame. A wide lens can hide minor movement in open areas, but straight architectural edges, distant tree branches, and high-contrast window frames expose it immediately.
HDR software uses the darker frame to protect bright highlights and the brighter frame to reveal shadow detail. If those source pixels do not correspond to the same real-world point, the merge cannot simply average them. It must first identify matching detail and transform each image to a common reference frame.
This is why a single exposure can look cleaner than a poorly merged bracket set, even when it clips the sky or buries the foreground. Alignment is not an optional polish step. It is the foundation that makes exposure blending believable.
What HDR Alignment Can Correct
A capable alignment engine can compensate for the small camera movements typical of a handheld bracket sequence. It finds stable visual features – edges, corners, texture, and contrast transitions – then adjusts frames so those features overlap. The result is a stack that behaves more like it was captured from a locked camera position.
It is especially effective with scenes that contain fixed structure: interiors, buildings, horizons, furniture, roads, mountains, and still landscapes. Small rotational shifts are common when shooting handheld, and they are generally easier to correct than large changes in viewpoint.
There are limits. If you take a step between frames, recompose substantially, change focal length, or shoot a very close subject from different positions, the camera sees different perspective rather than simple movement. Alignment may improve the stack, but it cannot recreate pixels hidden by parallax. A lamp near the camera can move against a distant window, for example, because the viewing angle changed.
The practical rule is simple: keep your feet planted, frame once, and let the bracket sequence finish. Alignment can correct the natural motion of shooting handheld. It is not a substitute for a consistent capture.
Alignment and deghosting solve different problems
Camera movement is only half the challenge. A tree branch moving in wind, a walking person, ripples on water, or a car passing through the frame can appear in different locations or with different brightness across brackets. Alignment cannot make a moving subject stationary because the subject itself changed.
That is where deghosting matters. Deghosting identifies areas that differ between exposures and chooses a consistent source rather than blending several positions together. Used together, alignment handles camera movement while deghosting controls scene movement.
More deghosting is not automatically better. At a low setting, you preserve more blended information in mostly still scenes. At a stronger setting, you reduce ghosts in busy scenes but may favor one exposure more decisively in moving areas. A calm interior with a person standing still needs a different treatment than a windy coastal overlook.
How to Capture Brackets That Align Cleanly
Handheld HDR starts before processing. Use auto exposure bracketing when available, because it captures the related frames in a rapid, predictable sequence and records the exposure information needed to recognize the set later.
Hold the camera with both hands, brace your elbows where possible, and press the shutter smoothly. If the camera supports a burst-style AEB sequence, keep holding until all three, five, or seven frames are complete. Do not check the screen or lower the camera between exposures.
For interiors and real estate work, watch the edges of windows, door frames, cabinets, and light fixtures. These are the details most likely to reveal a weak merge. For landscapes, pay attention to foreground foliage and branches. A firm stance helps, but timing helps too: waiting for a gust to pass can reduce the amount of deghosting required.
Shorter exposure times also improve the odds. In low light, the brightest bracket may require a slower shutter speed and show blur from either camera motion or subject movement. If image quality permits, raising ISO slightly can be the better trade-off. Noise can often be managed; motion blur cannot be aligned away.
A Faster Handheld HDR Workflow
The frustrating part of bracket photography is often not the capture. It is finding the related images afterward, verifying their exposure order, stacking them, aligning them, testing ghost removal, and exporting a result that still looks natural.
A practical workflow should reduce those decisions without hiding the controls that affect the final image. In MergeHDR, the process is Detect, Merge, Export. The app uses EXIF data to identify 3-, 5-, and 7-frame auto-exposure-bracketing sets in your library, so there is no manual sorting and no wasted brackets.
Once the set is detected, automatic frame alignment prepares the images for the merge. You can then choose the amount of deghosting appropriate to the scene and select a natural, vivid, or dramatic tone-mapping result. The goal is not to force every scene into the same HDR look. It is to preserve the useful range you captured while keeping the image credible.
Export at full resolution when the image is headed to editing, print, or delivery. HEIC is useful when you want an efficient file that remains ready for your Apple photo library. The processing stays on your device: nothing uploads, no account is required, and your images are not sent to a remote server.
How to Check Whether Alignment Worked
Do not judge an HDR merge only by its overall brightness. Zoom into the places where the darkest and brightest frames contribute different information. Look at window mullions, roof edges against sky, tree branches, lettering, railings, and the boundary between bright highlights and deep shadows.
Clean alignment produces sharp, continuous lines. Misalignment often appears as doubled edges, soft detail that should be crisp, thin bright or dark halos, or repeating texture around high-contrast objects. If a stationary edge looks wrong, try a different source set only if you suspect the brackets were not captured as one sequence. Otherwise, inspect whether the issue is actually movement in the scene and adjust deghosting.
Tone mapping can also make alignment artifacts easier to see. A dramatic setting may lift local contrast around an imperfect edge, while a natural setting may make the same issue less obvious. Neither choice is inherently correct. Match the rendering to the scene and the intended use, then inspect the important details at full size.
When a Tripod Is Still the Better Choice
Handheld HDR alignment is a practical advantage, not a reason to leave the tripod behind in every situation. Use support when you are shooting long exposures, twilight architecture, interiors with very slow bright brackets, layered foreground subjects, or files intended for large prints. A tripod reduces both camera motion and perspective variation, leaving deghosting as the main variable.
For most daylight brackets, travel scenes, and fast-paced property work, handheld capture is often the more useful option. The best result comes from a stable sequence, reliable automatic alignment, and a quick review of the details that matter. Capture the range while the scene is there, keep the camera steady, and let the merge do the repetitive work.
Let MergeHDR find your brackets.
MergeHDR detects exposure brackets in your photo library and merges them into HDR photos on-device — keeping every edit, album, favorite, and location. No account; free to try, with unlimited saves for $19.99 once or $9.99/year on iPhone, iPad, and Mac.