HDR for Real Estate Interiors Without Fake Looks
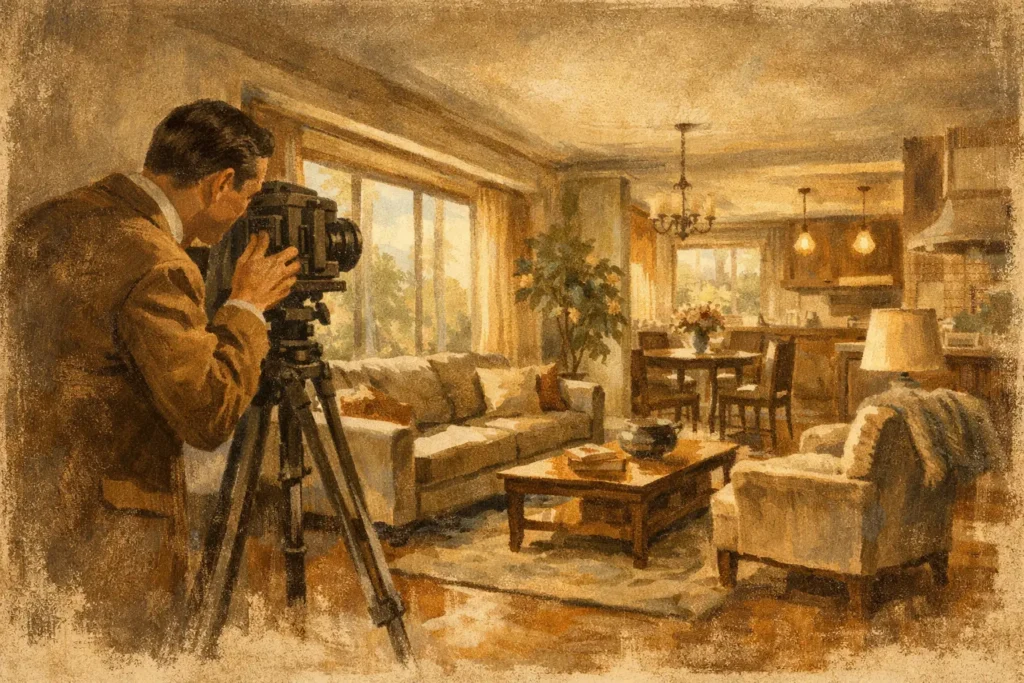
A bright window, a shaded hallway, and a room lit by mixed daylight and warm fixtures can exceed what one exposure can hold. HDR for real estate interiors solves that range problem when it is used to show the property clearly, not to make it look artificially lit. The goal is simple: retain believable window views, open up useful shadow detail, and keep walls, finishes, and lighting true to the space.
For real estate photographers, that balance matters. Buyers notice when windows turn into blank white rectangles. They also notice when a room looks gray, overprocessed, or so evenly illuminated that it no longer feels real. A clean HDR merge helps a listing communicate scale, condition, natural light, and connection to the view outside.
Why one exposure usually falls short
Interior scenes often contain far more contrast than a camera sensor can record in a single frame. Expose for the room and the exterior may clip to pure white. Expose for the view and cabinets, flooring, and corners can drop into heavy shadow. Raising shadows from one file can help, but it also raises noise and may leave highlights unrecoverable.
Auto exposure bracketing gives you source material for a better result. A typical three-frame set captures a normal exposure, a darker frame that protects window detail, and a brighter frame that records shadow information. Five- and seven-frame brackets provide more coverage in especially difficult rooms, such as glass-heavy living areas, sunrooms, or spaces with dark wood and direct afternoon light.
The merge should use the strongest information from each exposure. In practical terms, that means clean outdoor detail through the windows, readable corners without excessive noise, and midtones that still look like the room did on location.
Start with consistent brackets
Good HDR begins before post-processing. Use a tripod whenever possible, especially for full-property shoots and scenes with clear architectural lines. Bracketing reduces the need to compromise exposure, but it does not fix careless composition, poor styling, or mixed color temperatures.
For many rooms, three frames spaced about two exposure values apart are enough. Add more frames when the view outside is significantly brighter than the interior or when you need to preserve detail in very dark materials. The right bracket count depends on the scene. More frames can provide cleaner highlight and shadow coverage, but they also increase capture time and the chance of movement between images.
Lock your composition and keep focus consistent across the set. If you change focal length, shift the camera, or alter the framing, the frames are no longer a reliable bracket. Photographers using a handheld workflow can still get usable results, but alignment becomes more important and small edge artifacts are more likely around windows, doorframes, and furniture.
Protect the window exposure
The darkest frame has one job: preserve the brightest meaningful detail. Check the exterior view, white curtains in direct sun, and reflective surfaces. Some clipping from a specular reflection is normal. A completely blank window is not, unless the window view genuinely has no relevance to the listing.
Do not underexpose the entire set so aggressively that the middle exposure becomes noisy or hard to judge. The normal frame should still provide a natural baseline for the room. HDR is most convincing when it starts from a well-exposed, well-composed image rather than a rescue job.
HDR for real estate interiors should look restrained
The most common HDR mistake is treating every tonal difference as detail that must be revealed. Real rooms have shadows. A recessed shelf, a corner behind a sofa, or the area under a table does not need to match the brightness of a sunlit wall. Trying to equalize every part of the image creates flat contrast and a synthetic finish.
A natural merge protects the important information without removing depth. Walls should remain neutral unless the actual paint is warm or cool. White trim should not turn blue from window light or yellow from interior fixtures. Wood should retain grain and color without becoming orange. Exterior foliage should look like foliage, not a glowing green screen.
Tone mapping is where this judgment becomes visible. Natural settings usually suit listing photography because they preserve realistic contrast and color relationships. A more vivid treatment can work for a feature image with an exceptional view, while dramatic processing is better reserved for editorial architecture work than a standard MLS gallery. It depends on the property, the client’s visual standards, and where the image will appear.
Movement is the real HDR complication
A bracketed sequence is not always static. Trees move outside windows. Ceiling fans rotate. Curtains shift in airflow. A person, pet, or vehicle may enter part of the frame. When different exposures record that movement, a merge can produce doubled edges or translucent artifacts called ghosting.
Deghosting compares the frames and selects a consistent version of moving areas. It is especially useful in rooms with visible landscaping beyond the glass, flowing water, or active streets. Stronger deghosting can remove more movement artifacts, but it may also favor information from one exposure in those areas. That is a reasonable trade-off when a clean, credible image matters more than extracting every tonal detail from a moving tree branch.
Alignment addresses a separate issue: camera movement. Even a tripod can experience a small shift from pressing the shutter or adjusting gear. Reliable automatic alignment keeps straight edges and fine details from developing a soft halo. It is not a substitute for stable shooting, but it makes fast field workflows far more forgiving.
A faster workflow is a better delivery workflow
The processing bottleneck is often not the merge itself. It is finding the related frames after a full shoot. A photographer may return with hundreds of images, multiple rooms, and several bracket counts. Manually identifying every three-, five-, or seven-frame set wastes time and invites missed brackets or incorrect stacks.
An efficient workflow follows three steps: Detect, Merge, Export. Detection uses EXIF capture data to identify the images that belong together. The merge aligns frames, manages ghosting, and applies the selected tone treatment. Export creates a finished image at the resolution and file format required for delivery.
MergeHDR is built around that workflow on Mac, iPhone, and iPad. It detects bracket sets in your photo library without manual sorting, then processes alignment, deghosting, and tone mapping locally on the device. Nothing uploads. That matters when a shoot includes private homes, family photographs, security details, or client material that should not pass through a cloud service.
For most listing work, export at full resolution when the client may need print, marketing, or future reuse. HEIC can be a practical option for efficient personal-library storage and Apple-device sharing, while JPEG remains common for listing platforms and client delivery workflows. Choose the format based on the next handoff, not merely the smallest file size.
Keep the result credible before you deliver
Review every merge at full size before exporting a complete set. Look closely around window mullions, lamp shades, chairs, and tree branches. These areas reveal alignment and deghosting issues first. Then check the image at normal viewing size, because a technically clean file can still feel wrong if its contrast or color is overworked.
A short quality-control pass catches the problems that affect buyer confidence: gray windows, muddy corners, blue-white walls, yellow ceilings, unnatural foliage, and halos along hard edges. Correcting one image is faster than explaining a whole gallery that looks inconsistent.
The best real estate HDR does not advertise its processing. It lets a prospective buyer understand the room at a glance: where the light comes from, what the finishes look like, and what can be seen beyond the glass. When your brackets are organized, your merge is controlled, and your files stay local, you spend less time managing exposures and more time delivering photographs that make the property easy to see.
Let MergeHDR find your brackets.
MergeHDR detects exposure brackets in your photo library and merges them into HDR photos on-device — keeping every edit, album, favorite, and location. No account; free to try, with unlimited saves for $19.99 once or $9.99/year on iPhone, iPad, and Mac.