How to Photograph Sunset Brackets Without Guesswork
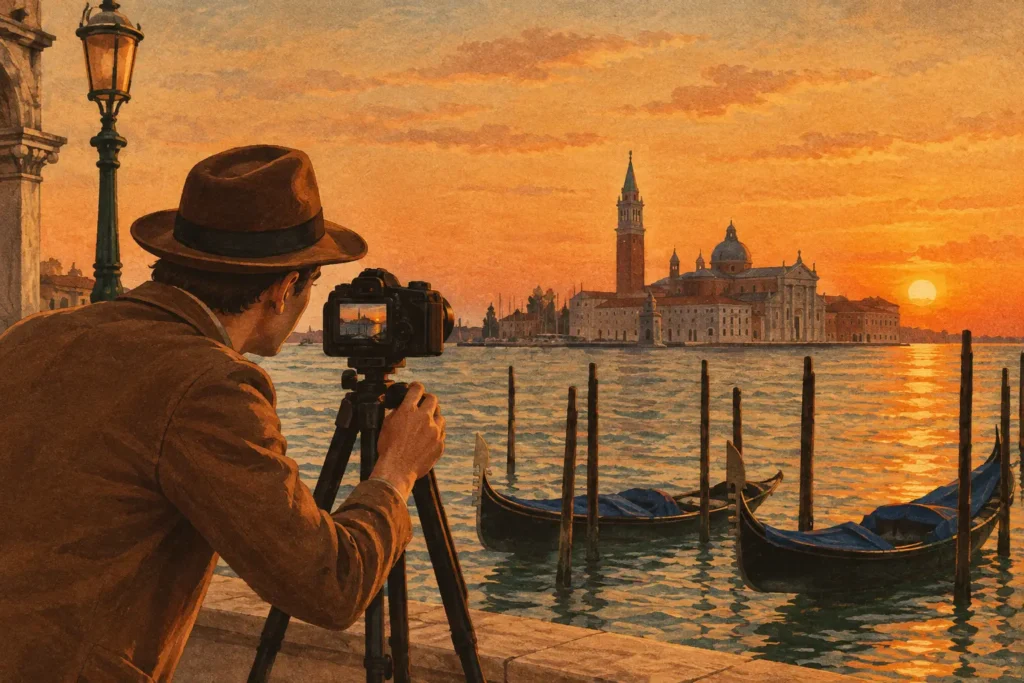
A sunset can shift from perfect to clipped in the time it takes to adjust a dial. The sun is still bright, clouds are darker than they look, and the foreground may already be falling into deep shadow. Learning how to photograph sunset brackets gives you usable detail across that range without gambling on one exposure.
The goal is not an exaggerated HDR look. It is a clean set of exposures that preserves color around the sun, texture in the clouds, and believable detail in the land or water below. Capture those frames well, and merging becomes fast instead of a rescue job.
Why one sunset exposure usually fails
Your camera can expose for the sky or the foreground, but at sunset it often cannot hold both in a single frame. If you expose for the dark foreground, the area around the sun can turn into a flat white patch with no recoverable color. Expose for the bright sky, and trees, rocks, buildings, or shoreline can become nearly black.
A bracket is a sequence of the same composition at different exposure values. One frame protects highlights, one provides a balanced middle exposure, and one opens the shadows. A 3-frame sequence is enough for many scenes. Use 5 or 7 frames when the sun is in the frame, the foreground is very dark, or you are shooting through a window or into an interior.
The key is overlap. Each exposure should contribute real information, rather than simply making every frame brighter or darker for no benefit.
How to photograph sunset brackets before the color peaks
Set up before the sky reaches its best color. This is when you can choose a composition, level the horizon, and establish focus without rushing. A sunset does not wait while you troubleshoot settings.
Start by deciding what must retain detail. In most sunset photographs, that is the brightest area near the sun and the textured clouds around it. Meter or expose for that bright region first. Check the histogram rather than relying only on the screen, which can look brighter or darker depending on ambient light. If the highlight graph is pressed hard against the right edge, reduce exposure until the important highlights pull back.
Once the highlight exposure is safe, set up auto exposure bracketing. Keep the camera fixed and let the camera vary shutter speed when possible. This protects depth of field and keeps the look of the scene consistent across the set.
For a typical landscape sunset, use three shots spaced 2 EV apart: -2, 0, and +2. That gives the merge enough range for a bright sky and a moderately shadowed foreground. If the contrast is stronger, use five shots at 1 or 2 EV spacing. Smaller increments provide more tonal overlap, while wider increments cover greater range with fewer frames. Which is better depends on how extreme the scene is and how quickly the light or subject is moving.
Keep aperture and focus locked
For camera workflows, manual exposure mode is usually the most predictable option. Set the aperture for the depth of field you need, then use shutter speed for the bracket. For a wide landscape, f/8 to f/11 is a practical starting point on many cameras, though lens performance and sensor size matter more than any fixed rule.
Focus once, then lock it. Autofocus can choose a different point between frames, especially as the scene gets darker. That creates subtle inconsistencies that are harder to align cleanly later. If you focus near the foreground, make sure distant clouds and horizon detail are still acceptably sharp. If you focus farther away, confirm the nearest important subject does not become soft.
On iPhone, use an app or camera workflow that supports exposure bracketing and exposure lock. Keep the lens choice, focus, and white balance consistent through the set when controls are available. Automatic white balance can shift as the camera sees different brightness levels, causing extra color correction work after capture.
Shoot the sequence fast and keep still
A tripod is the most reliable choice. It keeps the horizon and fine cloud detail in the same position, reduces the chance of blur in the brightest bracket, and makes alignment more accurate. Use a remote release, self-timer, or burst-style bracketing sequence so touching the shutter does not move the camera.
Handheld sunset brackets can still work. Brace your elbows, use a stable stance, and shoot the full sequence as quickly as possible. Do not recompose between frames. Modern alignment can correct minor movement, but it cannot restore detail blurred by slow shutter speeds or fix a subject that changed position substantially.
Wind is the complication photographers often underestimate. Trees, tall grass, waves, flags, and people can move differently in every frame. If the foreground is active, shorten the total capture time. You may prefer a 3-frame burst over a wider 7-frame sequence, even when contrast is high. A slightly noisier shadow is usually better than obvious ghosting in moving foliage.
Choose bracket settings for the scene, not a preset
A 3-frame, 2-EV bracket is a strong default, not a law. The right set depends on what is moving, how bright the sun is, and whether your foreground needs exposure recovery.
Use 3 frames when the sun is below the horizon or hidden behind thin cloud, and the foreground still holds some detail. Use 5 frames for a sun-facing landscape, city skyline, or dark beach where you want both warm sky color and readable shadow texture. Consider 7 frames only when the dynamic range is extreme and the scene is stable, such as a tripod-mounted architectural view with a bright sunset outside and a darker interior inside.
Watch shutter speed in the bright and dark ends of the sequence. The brightest exposure may require a long shutter speed that turns water silky and leaves into a blur. That can be a creative choice, but it needs to be intentional. If you want crisp detail in grasses or waves, raise ISO slightly, open the aperture within your depth-of-field needs, or reduce the range of the bracket.
Avoid changing ISO across the sequence unless your camera’s bracketing system requires it. Varying shutter speed is generally easier to merge because it preserves noise characteristics and depth of field. If ISO must change, keep the range modest.
Review the frames before you leave
After one bracket, inspect the darkest frame and the brightest frame, not just the middle image. The dark frame should retain usable color and structure around the sun. The bright frame should show meaningful foreground detail without excessive motion blur.
Also check for flare. A low sun can create washed-out contrast, colored blobs, or streaks that appear in every bracket. Shade the lens with your hand or a lens hood, taking care not to include your hand in the frame. A small composition adjustment can also move the sun behind a tree, rock, or building edge while preserving the feeling of the scene.
If you are shooting several compositions, pause between them. This creates cleaner groups in your library and makes it easier for bracket detection to identify related frames. Do not scatter single test shots through the middle of a sequence if you can avoid it.
Merge sunset brackets without manual sorting
A good merge should preserve the scene you saw, not flatten it into gray midtones or push every sunset into neon orange. Alignment handles minor camera movement. Deghosting handles areas that changed between frames, such as water, people, leaves, or passing birds. Tone mapping determines whether the final image feels natural, vivid, or deliberately dramatic.
MergeHDR identifies 3-, 5-, and 7-frame auto-exposure-bracketing sets from EXIF data in your photo library, so there is no manual sorting through near-identical files. Select a detected set, choose the deghosting and tone-mapping approach that fits the scene, then export at full resolution or HEIC. Processing stays on your device. Nothing uploads, and your sunset photos do not need to leave your library for a server.
For most landscapes, begin with a natural tone map and moderate deghosting. Increase deghosting when foliage or water shows doubled edges, but do not apply more than the scene needs. Strong deghosting can favor one exposure in moving areas, which may reduce shadow detail there. For a clean horizon and stationary foreground, lighter deghosting often keeps more of the bracket’s full tonal range.
Treat the final merge as a starting point for restrained finishing. A small adjustment to white balance, black point, or local contrast can bring back the mood of the scene. If the image looks overprocessed, reduce saturation before assuming the bracket was wrong. Sunset color is already strong. It rarely needs much help.
The most useful habit is simple: make one careful bracket before the light peaks, then make another as the sky changes. When the best color lasts only minutes, a prepared sequence gives you options that a single clipped exposure never can.
Let MergeHDR find your brackets.
MergeHDR detects exposure brackets in your photo library and merges them into HDR photos on-device — keeping every edit, album, favorite, and location. No account; free to try, with unlimited saves for $19.99 once or $9.99/year on iPhone, iPad, and Mac.