How iPhone HDR Processing Changes Your Photos
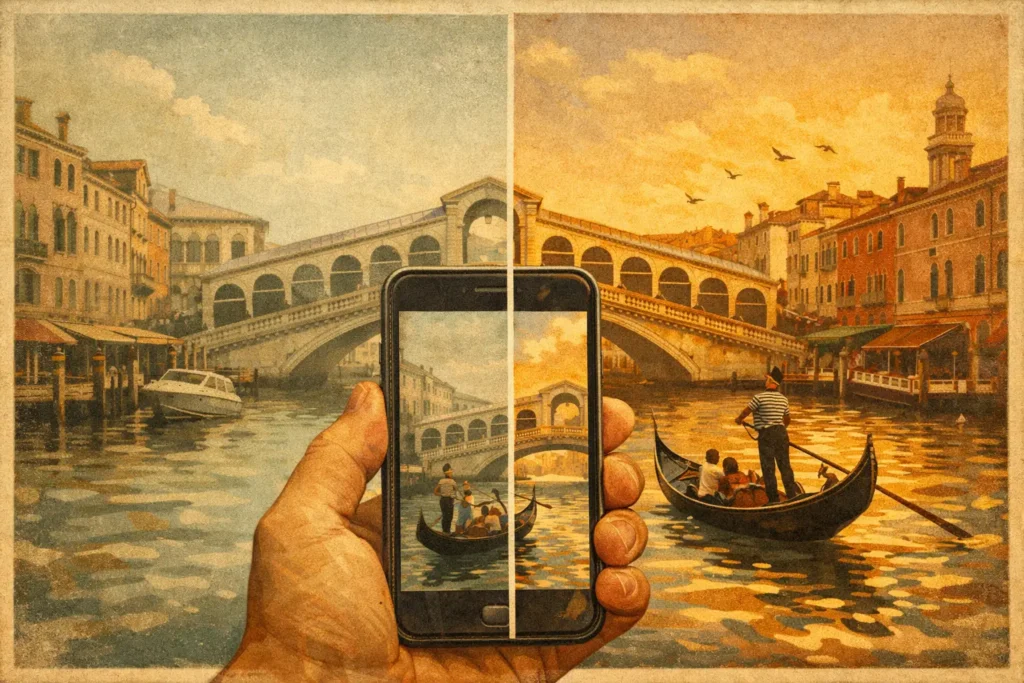
A sunset behind a building, a bright window in a dark room, or a shaded trail beneath a clear sky can exceed what one exposure can hold. iPhone HDR processing is designed to solve that problem automatically, often producing a balanced photo before you have time to think about exposure. The convenience is real. So is the trade-off: the iPhone decides how much shadow detail to lift, how strongly to protect highlights, and how the finished image should look.
For everyday photographs, that decision is usually sensible. For photographers who want predictable files, natural highlight rolloff, or full control over a difficult scene, it helps to understand what the camera is doing and when a bracketed HDR merge is the better tool.
What iPhone HDR Processing Actually Does
HDR stands for high dynamic range. A high-dynamic-range scene contains a large gap between its brightest and darkest areas. Think of sunlit clouds above a shadowed landscape, or an interior where window views are much brighter than the room.
A single exposure forces a compromise. Expose for the sky and the foreground may go nearly black. Expose for the shadows and the sky can clip to white, losing cloud detail and color. Traditional HDR solves this by taking several exposures at different brightness levels, then combining the useful information from each.
iPhone HDR processing uses computational photography to make a similar decision quickly. Depending on the camera mode, lighting, and iPhone model, the camera may analyze multiple frames captured around the shutter press, choose detail from brighter and darker captures, reduce noise, adjust local contrast, and create a finished image. The result is generally saved as a HEIC or JPEG, while certain workflows may also preserve a ProRAW file with more editing latitude.
That is not the same as giving you a visible, editable 3-, 5-, or 7-frame exposure bracket. The phone is creating a rendered result, not necessarily delivering every source exposure for you to evaluate and merge later.
Why Automatic HDR Can Look Different From the Scene
The iPhone is optimized to produce a pleasing image on a phone screen. That often means opening dark areas, holding detail in bright skies, adding local contrast, and applying noise reduction or sharpening. In a quick travel shot, those choices can be exactly what you want.
They can also create a look that feels more processed than the scene. Shadows may appear brighter than they did in person. Fine foliage, brickwork, or distant texture can look smoothed or sharpened. Window light may be controlled well, but the transition between a bright window and a darker wall can lose the subtle tonal depth that makes an interior feel natural.
This is not a failure of HDR. It is a consequence of a camera making aesthetic and technical choices automatically. The best result depends on the subject. A family snapshot benefits from speed and a ready-to-share image. A real-estate photographer may care more about clean windows, neutral walls, and consistent results across a full property. A landscape photographer may prefer a darker foreground if that preserves the scene’s actual atmosphere.
When iPhone HDR Processing Is Enough
Automatic HDR is a strong choice when the scene has moderate contrast, your subject is moving, or the photo needs to be shared immediately. It is especially useful for casual handheld shooting, street scenes, meals, pets, and moments where setting up a bracket would cause you to miss the frame.
It also works well when the final output is small. On social media or in a message, the differences between a computational HDR image and a carefully merged bracket may be difficult to notice. The speed advantage matters more.
The limits show up when you inspect the file closely, print large, edit aggressively, or need a repeatable visual standard. A bright exterior through windows, an architectural interior with mixed light, a sunrise with deep foreground shadows, and reflective water with moving detail are all situations where one automatic interpretation may not be enough.
Bracketed HDR Gives You the Source Files
Exposure bracketing records the scene deliberately at multiple exposure values. A common set includes a darker frame for highlights, a middle frame for overall exposure, and a brighter frame for shadow detail. Five- and seven-frame sets extend the range when the scene is especially difficult.
The practical advantage is control. Rather than accepting a single rendered HDR image, you retain separate source frames. The darker exposure can preserve a bright sky or window view. The brighter exposure can reveal detail in furniture, trees, or a shaded foreground. The midtone frame keeps the merge grounded in the scene’s normal exposure.
This approach is useful whether the brackets come from an iPhone camera app that supports manual exposure bracketing or from a dedicated camera imported into an iPhone, iPad, or Mac photo library. The capture method changes, but the post-processing problem is the same: find the related frames, align them correctly, account for movement, and create a result that does not look artificial.
Manual sorting is where a good bracketed workflow often breaks down. After a day of shooting, hundreds of nearly identical images can make it hard to identify which files belong together. Miss one frame, mix two sets, or process the wrong sequence, and the merge becomes slower than it needs to be.
A Better Workflow: Detect, Merge, Export
A practical HDR workflow should preserve control without adding a desktop-sized chore to every shoot. The first step is detection. EXIF metadata can identify frames captured as part of the same auto-exposure-bracketing sequence, separating real 3-, 5-, and 7-frame sets from visually similar images. No manual sorting means fewer missed brackets and less time zooming through a photo library.
Next comes the merge. Even with a steady hand or tripod, frames can shift slightly between exposures. Alignment corrects for small camera movement so edges remain clean. Deghosting handles movement inside the scene, such as leaves in wind, water, passing people, or a curtain near an open window. More deghosting is not always better. Strong settings can protect a moving subject, but they may also reduce the contribution of other exposures in that area. Choose the lowest level that removes visible artifacts.
The final step is tone mapping. This is where a high-dynamic-range source becomes a photo suited to a standard display or print. A natural setting generally preserves believable contrast and avoids overly bright shadows. A vivid setting can help travel scenes or colorful architecture stand out. A dramatic setting may suit storm clouds, industrial spaces, or intentionally stylized work, but it can quickly overpower subtle scenes.
MergeHDR follows this Detect, Merge, Export workflow on Mac, iPhone, and iPad. It groups bracket sets from your library, aligns frames automatically, provides four deghosting levels, and lets you choose natural, vivid, or dramatic tone mapping before exporting full-resolution images or HEIC files. Nothing uploads. Your source photos and merged results stay on your device, with no account or remote processing step.
How to Choose Between Automatic HDR and a Manual Merge
Start with the purpose of the image. If you need a fast record of a scene and the phone’s result looks right, automatic HDR is the efficient choice. There is no reason to create extra files for a scene that does not need them.
Use brackets when highlight detail is nonnegotiable, when dark areas need to remain clean, or when you expect to edit the image later. Brackets also make sense when consistency matters across a set of images. For example, a real-estate shoot benefits from a repeatable approach to windows and interiors. A landscape series benefits from being able to control how much shadow detail appears from one frame to the next.
Watch moving subjects closely. A single iPhone HDR capture may be safer for people, vehicles, waves, and foliage in heavy wind. Bracketed HDR can still work, but the merge needs capable alignment and deghosting. If movement dominates most of the frame, capture a single well-exposed image instead of forcing an HDR solution.
Keep the Result Believable
The most convincing HDR photograph does not announce itself as HDR. Bright areas retain texture, shadows contain usable detail, and the image still has depth. Avoid lifting every dark area just because detail is available. A shadow can be part of the composition, and a bright highlight can still feel bright without becoming featureless.
Before exporting, check window edges, tree branches, water, and people at full size. These are the places where alignment errors and ghosting usually appear. Then compare a natural tone map with a stronger one. If the dramatic version draws attention to processing before it draws attention to the subject, pull it back.
Your iPhone can make impressive HDR decisions in a fraction of a second. When the scene deserves more than one automatic interpretation, shoot brackets, keep every exposure, and build the final image on your terms.
Let MergeHDR find your brackets.
MergeHDR detects exposure brackets in your photo library and merges them into HDR photos on-device — keeping every edit, album, favorite, and location. No account; free to try, with unlimited saves for $19.99 once or $9.99/year on iPhone, iPad, and Mac.