Landscape HDR Photography Workflow That Works
A sunrise scene can contain far more range than one exposure can hold. Expose for the clouds and the foreground goes dark. Lift the foreground and the brightest color in the sky turns into a flat, clipped patch. A reliable landscape HDR photography workflow solves that problem without turning a natural scene into a gray, over-processed image.
The goal is not to make every pixel equally bright. It is to preserve believable highlight detail, retain usable shadow information, and keep the final image looking like the place you photographed. That requires good bracket capture in the field, accurate grouping and alignment afterward, careful handling of movement, and tone mapping that matches the scene.
Build Your Landscape HDR Photography Workflow Around Brackets
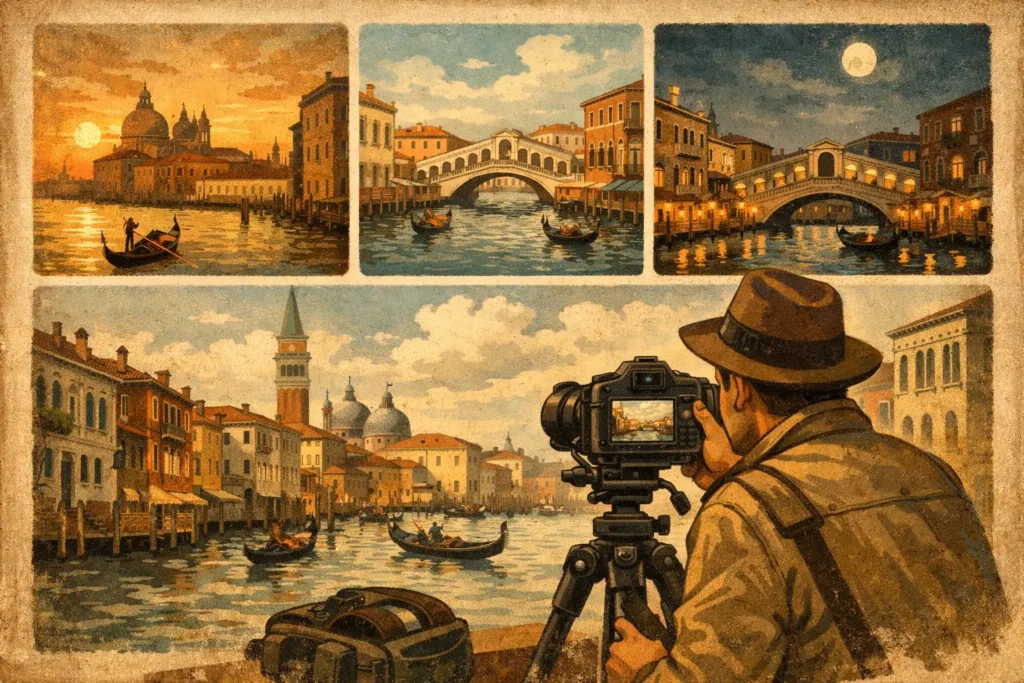
HDR starts before you open an app. Auto exposure bracketing captures several versions of the same composition at different exposure values. In a typical three-frame bracket, one image protects highlights, one holds the midtones, and one opens the shadows. Five- and seven-frame sets provide more coverage when the contrast is extreme, such as a canyon at midday or a backlit forest with bright openings in the canopy.
For most landscapes, a three-frame bracket at 2 EV spacing is a practical starting point. It covers many sunrise, sunset, and shaded-foreground scenes without creating unnecessary files. Move to five frames when the difference between the brightest and darkest areas is too large for those three exposures to cover cleanly. Seven-frame brackets can be useful for unusually difficult scenes, but they also increase capture time and the chance of movement between frames.
The best bracket count depends on the scene, not a rule. A calm lake at blue hour may need only three frames. A dramatic sky over a dark rock formation may justify five. More frames are not automatically better if wind is moving grass, waves are changing shape, or light is shifting quickly.
Protect Highlights First
The darkest frame in a bracket set has one job: keep important bright detail from clipping. Check the histogram and highlight warning rather than trusting the camera screen alone. If the sun itself clips, that is usually acceptable. If clouds around it, snow texture, bright water, or a pale building facade clip, add negative exposure compensation or expand the bracket range.
The brighter frames should reveal foreground detail without forcing the base exposure too high. A clean HDR merge has useful information in each frame. If every shadow frame is noisy or every highlight frame is nearly black, the bracket was not doing efficient work.
Keep the Camera Still, but Do Not Assume Perfection
A tripod remains the simplest way to reduce alignment problems, especially in low light or with longer focal lengths. Use a stable stance, disable unnecessary camera movement, and avoid touching the setup during the sequence. For water, foliage, or clouds, shoot the bracket quickly so the scene changes as little as possible.
Handheld brackets can still work well when shutter speeds are fast and the sequence is captured rapidly. Modern alignment can correct small shifts between frames, but it cannot recreate detail that was hidden by major motion or a changed composition. Think of alignment as a correction tool, not permission to be careless in the field.
Detect, Merge, Export Without Manual Sorting
A practical workflow should not begin with hunting through a library for near-identical images. After a long trip, several bracket sequences can look like duplicates, particularly when you have photographed a view from multiple positions or waited for changing light. Manual sorting is slow, and it is easy to merge the wrong frames together.
MergeHDR uses EXIF data to identify compatible three-, five-, and seven-frame auto exposure bracketing sets in your photo library. That turns the first stage into detection rather than file management. No manual sorting means fewer wasted brackets and less time checking timestamps, exposure values, and filenames.
Once a set is detected, the merge stage should address the two technical problems that determine whether HDR looks clean: frame alignment and moving subjects. Automatic alignment corrects the small position changes common in handheld shooting. It is particularly useful around hard edges such as distant ridgelines, tree trunks, buildings, and horizon lines, where even a minor shift can produce a double edge.
Deghosting handles areas that changed between exposures. Water ripples, leaves, grass, flags, passing clouds, and people on a trail can all create ghosting when frames are blended. Four levels of deghosting give you a practical range of control. Use a lower setting when the scene was largely still and you want to retain fine texture. Increase it when motion is obvious, but inspect the result closely. Stronger deghosting can protect a moving subject while making other areas look less natural if the source frames differ substantially.
Then export the result at full resolution or as HEIC, depending on where the image is going next. For archive-quality work, full resolution gives you flexibility for later editing, printing, or cropping. HEIC is useful when storage efficiency and easy sharing matter more than a heavier master file. Nothing uploads during this process. Your bracketed photos and finished HDR files stay on your device, with no account or remote server dependency.
Choose Tone Mapping for the Scene, Not the Effect
Tone mapping is where HDR becomes a photograph rather than a technical composite. It translates the extended brightness range into a file that your display and output format can show. The wrong choice can flatten a scene, create halos along contrast edges, or make shadows look unnaturally bright.
A natural look is usually the right starting point for landscapes. It preserves the scene’s original contrast relationships while recovering detail where a single exposure would fail. Use it when you want a mountain scene to retain deep valleys, a sunset to keep its brightness near the horizon, or a forest to feel shaded rather than evenly lit.
A vivid treatment can work for travel images and scenes with strong color separation, such as autumn foliage against a blue sky. It should add presence without pushing saturation until foliage becomes fluorescent or skies become electric. Dramatic tone mapping has a place when the scene genuinely supports it, perhaps storm clouds over textured terrain or an architectural landscape with bold light. The trade-off is restraint. If viewers notice the HDR effect before they notice the photograph, pull it back.
Evaluate the result at normal viewing size, then inspect key areas at 100 percent. Look first at the horizon, branch patterns against the sky, bright cloud edges, and moving water. These areas reveal alignment errors, halos, and deghosting artifacts faster than a general glance at the image.
Avoid the Common HDR Failure Points
The most common landscape HDR mistake is trying to recover everything. Deep shadows do not always need to be bright. A foreground can remain dark if that darkness supports the time of day, weather, and direction of light. Preserve detail where it matters, but leave enough contrast for the image to retain depth.
Noise is another limitation. Brightening an extremely underexposed shadow frame can introduce color speckling and weak detail that no merge can turn into clean texture. When possible, use a bracket range that captures usable foreground information rather than relying on aggressive recovery later.
Watch for movement that cannot be resolved cleanly. Heavy wind through a tree canopy, fast surf, or a crowd crossing a viewpoint may make HDR a poor fit for the entire frame. In those situations, a single well-exposed image, a faster bracket sequence, or a composition that reduces moving elements may produce the stronger result. HDR is a tool for scene range, not a requirement for every landscape.
A Faster Workflow Leaves More Time for the Photograph
The best landscape HDR process is repeatable: capture enough exposure range, keep the sequence stable, let EXIF-based detection find the correct brackets, merge locally with alignment and deghosting, then select a tone-mapped look that still feels true to the light. It removes the administrative work without removing your judgment.
When the next scene contains bright clouds, dark foreground texture, and limited time before the light changes, focus on making a clean bracket in camera. A workflow that can find, merge, and export that set in seconds lets you spend less time managing files and more time noticing where the light will move next.
Let MergeHDR find your brackets.
MergeHDR detects exposure brackets in your photo library and merges them into HDR photos on-device — keeping every edit, album, favorite, and location. No account; free to try, with unlimited saves for $19.99 once or $9.99/year on iPhone, iPad, and Mac.