Best Tools for Camera Brackets That Save Time
A three-frame bracket of a bright window, a shaded room, and a view outside can look perfectly organized on the camera. Once it reaches your library, it often becomes three nearly identical files mixed into hundreds of other photos. That is where the best tools for camera brackets earn their place: not just by creating an HDR image, but by removing the slow work between capture and export.
For photographers working on Mac, iPhone, or iPad, the right setup should preserve highlight detail, recover usable shadows, handle small shifts between frames, and keep your photo library under your control. It should also respect a practical reality: a good bracket is only useful if you can find it, merge it, and deliver it without turning every high-contrast scene into a desktop project.
What camera bracket tools need to solve
Exposure bracketing is simple at capture. Your camera records the same composition at several exposure values, usually three, five, or seven frames. One frame protects the brightest areas, one exposes the middle tones, and one opens up shadow detail. When the scene contains a bright sky over a dark foreground, sunlit windows inside an interior, or reflections on water, that extra range gives you information a single exposure cannot hold.
The hard part starts afterward. A useful HDR workflow has to identify which frames belong together, align them accurately, account for subject movement, and map the merged tonal range into an image that still looks intentional. If any one of those steps is awkward, brackets pile up unprocessed.
That changes how to evaluate tools. The best option is not necessarily the editor with the longest panel of controls. It is the one that solves the bottleneck in your own workflow. A landscape photographer may prioritize highlight recovery and natural color. A real-estate photographer may need fast window detail, straight lines, and reliable results across a large shoot. A travel photographer may care most about processing on an iPad without uploading personal images to a server.
The best tools for camera brackets work as a system
A camera body or iPhone capture method, a stable support, and HDR software each solve a different part of the problem. Treating them as one workflow prevents wasted brackets.
Auto exposure bracketing in the camera
Start with a camera that can record consistent AEB sequences. Three frames at a moderate exposure interval are enough for many outdoor scenes. Five or seven frames can help when photographing interiors with bright windows, sunsets, or architecture with deep shadows, but more frames also increase the chance of movement between exposures.
Keep aperture, focus, and white balance fixed where your camera allows it. Changes in aperture can alter depth of field, while automatic white-balance shifts can create uneven color from frame to frame. The goal is not to make every source file attractive on its own. The goal is to capture clean highlight and shadow data that will merge predictably.
For handheld work, use the shortest practical sequence. Modern alignment can correct small camera movement, but it cannot restore detail that was never recorded or fully eliminate blur caused by a long exposure. A tripod remains the better choice for careful architecture, twilight landscapes, and scenes with fine foreground texture.
A stable support when the scene demands it
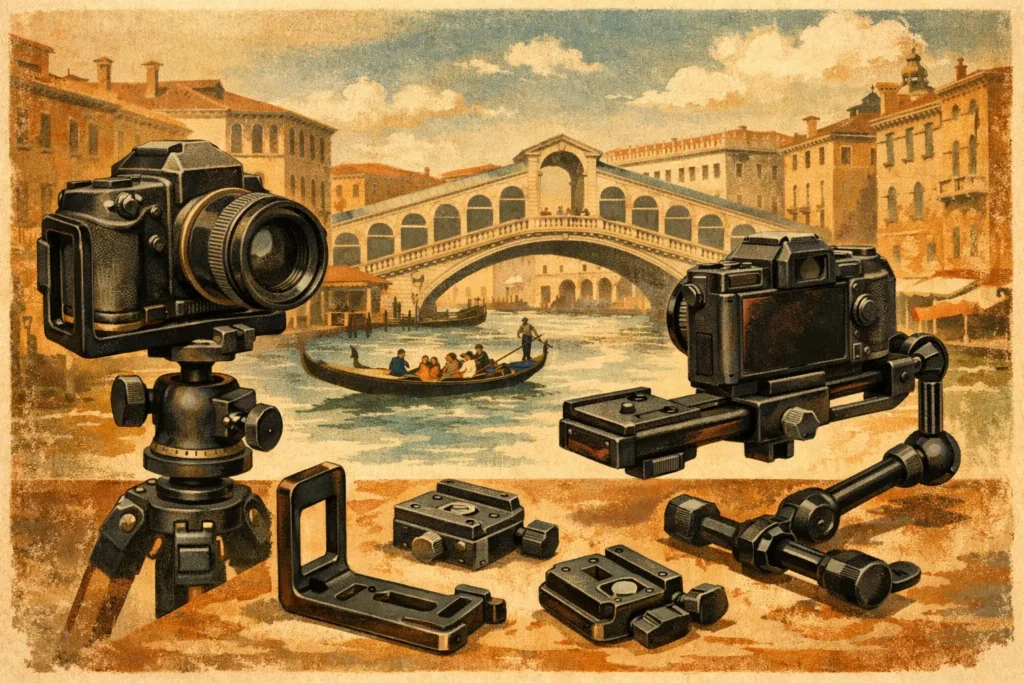
A tripod is not required for every bracket, but it is still one of the most valuable tools for high-contrast photography. It keeps architectural edges in the same position, reduces variation in foliage near the frame, and lets you use lower ISO settings when light falls.
A compact travel tripod or a solid tabletop support can be enough for many photographers. What matters is stability at the camera, not how large the kit looks. Turn off image-stabilization modes that are not intended for tripod use if your camera manufacturer recommends it, and use a remote release or timer when vibration is visible at slower shutter speeds.
There is a trade-off. Setting up a tripod can slow down spontaneous travel photography. In that case, shoot a tight handheld bracket, brace yourself, and avoid scenes where people, cars, or tree branches fill most of the composition. Good capture decisions make deghosting faster and cleaner later.
Automatic bracket detection
Manual sorting is the hidden cost of HDR. Three nearly identical thumbnails may be a bracket, a burst, or separate attempts at the same composition. Sorting by timestamp helps, but it does not reliably understand exposure sequences, and it adds another step every time you import a shoot.
Look for software that reads EXIF data and recognizes true 3-, 5-, and 7-frame auto-exposure-bracketing sets. This is especially valuable after a long trip, a property shoot, or a day of changing light, when your library contains many scenes and multiple bracket sequences. Automatic grouping means you review likely sets rather than hunting for them one by one.
That is the difference between an HDR tool you occasionally use and one that fits into normal editing. No manual sorting means fewer abandoned captures and fewer accidental merges of unrelated frames.
Alignment that protects edge detail
Even tripod brackets can shift slightly. Handheld brackets shift more. Alignment corrects those offsets before the frames are blended, which matters most around rooflines, tree branches, window frames, railings, and distant horizons.
The quality question is not simply whether a tool offers alignment. It is how well the merge holds fine detail without creating doubled edges, soft halos, or cropped borders that are more obvious after tone mapping. Review a few difficult scenes at full size before committing to a workflow. A merge that looks acceptable on a phone can reveal artifacts on a large monitor or in print.
Alignment also has limits. If a photographer reframes substantially between shots, or a subject moves through a detailed area, no software can make those frames identical. Reliable capture still gives the processing tool the best source material.
Deghosting for movement between frames
Movement is normal in bracketed photography. Water changes, leaves move, clouds travel, people walk through a lobby, and cars pass windows. Without deghosting, HDR merges can show translucent people, repeated branches, or strange ripples in water.
Choose a tool with more than an on-or-off deghosting switch. Different scenes need different levels of correction. A low setting can preserve subtle motion in a quiet landscape, while stronger correction may be necessary for a busy interior or a gusty overlook. The correct setting depends on the subject and on how much motion exists between frames.
Do not assume maximum deghosting is always best. Aggressive correction can prioritize one exposure in moving areas and may produce a less balanced result if the source frame is noisy or underexposed. The useful workflow is one that lets you choose the level quickly, inspect the result, and move on.
Tone mapping should match the photograph
HDR merging creates a high-dynamic-range source. Tone mapping determines how that range appears on a standard display or in a normal exported file. This is where many HDR images become overprocessed: shadow detail is pushed too far, local contrast becomes harsh, and skies pick up an unnatural halo.
A practical tool should provide a few clear output directions rather than burying basic decisions behind dozens of sliders. Natural processing works well when you want the image to resemble the scene as your eye experienced it. Vivid processing can add punch to travel and landscape images. A more dramatic treatment can suit selected architecture or weather scenes, but it is less forgiving when faces, neutral walls, or delicate skies are involved.
The best choice is scene-dependent. Real-estate images usually benefit from controlled highlights, clean color, and believable interior contrast. A mountain scene at sunset may support more local contrast and saturation. If you regularly reprocess the same bracket to compare looks, the issue may not be your taste. It may be that the software makes previewing options too slow.
Local processing is part of image control
Bracketed images can include private homes, client interiors, travel locations, family moments, and embedded location data. For many photographers, sending those files to a remote server is not a neutral convenience. It adds an upload wait, creates another copy of the image, and raises a reasonable question about where the data goes.
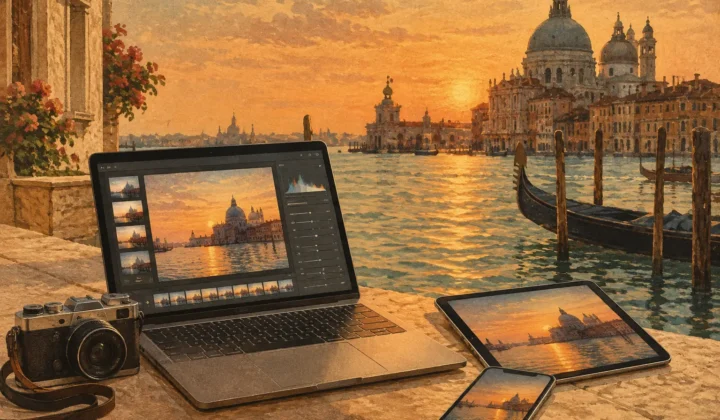
On-device processing keeps the workflow direct: detect the bracket, merge it locally, choose the look, and export. Nothing uploads. That matters whether you are working from an iPhone in the field, an iPad on a flight, or a Mac after an assignment.
MergeHDR is built around that approach. It detects compatible exposure sets from your Apple photo library using EXIF data, aligns frames automatically, offers four levels of deghosting and selectable tone mapping, then exports a full-resolution image or HEIC file back into your workflow. The point is not to replace every advanced editor. It is to remove the repetitive bracket-management work before it becomes a reason not to use HDR at all.
Build a faster bracket-to-export routine
The most efficient workflow has three parts: Detect, Merge, Export. After importing or syncing your photos, confirm that the software has identified the intended exposure sets. Select a set, choose a deghosting level that matches the movement in the scene, and review a natural starting point before choosing a more stylized tone map. Then export at the format and resolution your delivery requires.
Before you leave a scene, check the histogram on your brightest and darkest bracket frames. Make sure the highlights you care about are not clipped in every exposure, and make sure the shadow frame is not so dark that it contributes mostly noise. This ten-second check often saves more time than any editing adjustment afterward.
The right tools make brackets feel like a normal part of shooting rather than a folder of unfinished work. Capture consistent frames, let EXIF-based detection find the sets, use alignment and deghosting only as strongly as the scene needs, and keep the final image believable enough that viewers notice the light before they notice the processing.
Let MergeHDR find your brackets.
MergeHDR detects exposure brackets in your photo library and merges them into HDR photos on-device — keeping every edit, album, favorite, and location. No account; free to try, with unlimited saves for $19.99 once or $9.99/year on iPhone, iPad, and Mac.