How to Process HDR Locally on Apple Devices
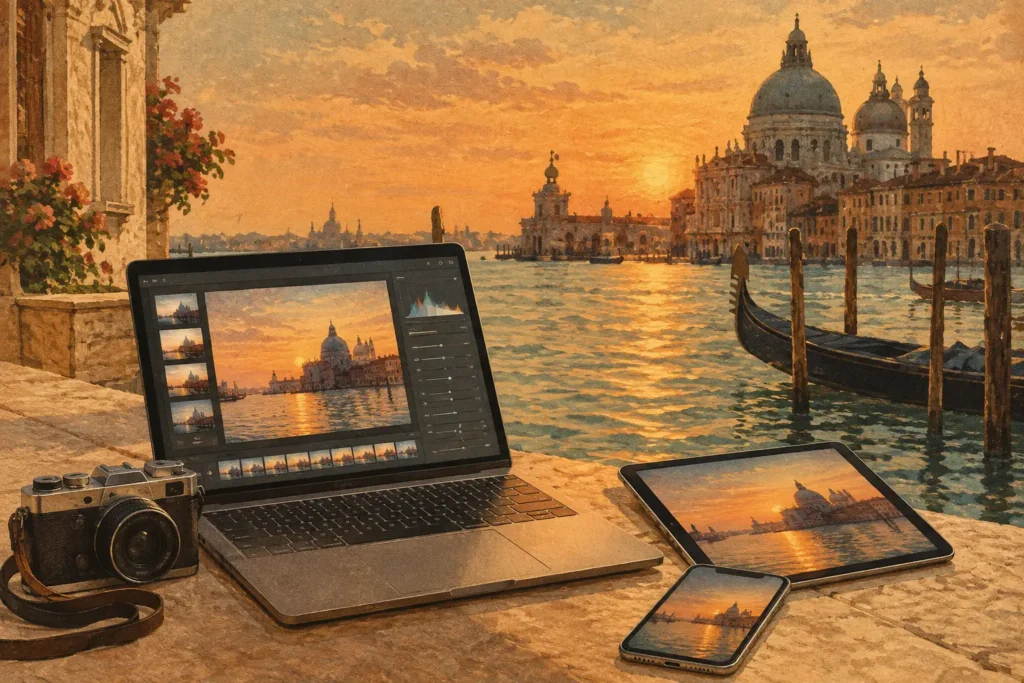
A bright window, a shaded interior, and detailed furniture can exceed what any single exposure can hold. The same is true of a sunset over a dark foreground or an architectural exterior with deep entryways. If you want to know how to process HDR locally, the goal is straightforward: combine your bracketed exposures on your own device, retain control of the look, and keep every original photo private.
Local HDR processing avoids the usual compromises of cloud workflows. Nothing uploads. You do not wait for remote processing, create an account, or hand sensitive client images to a third-party server. Your brackets stay in your photo library, and your final HDR image is ready for your library in seconds.
Why Local HDR Processing Matters
HDR starts before editing. When you use auto exposure bracketing, your camera captures the same composition at different exposure values. One frame protects highlight detail in the sky or windows. Another preserves midtones. A brighter frame brings information out of shadows.
A single exposure often forces a choice. Expose for the sky and the foreground goes dark. Expose for the interior and the windows clip to white. Brackets give you the source material to preserve both, but only if the frames are correctly grouped, aligned, merged, and tone mapped.
Processing locally matters most when speed and privacy are part of the assignment. A real-estate photographer may be working through dozens of interiors. A travel photographer may be editing on an iPad without dependable internet. A professional may simply prefer that unreleased work never leaves a Mac, iPhone, or iPad. In each case, local processing removes a dependency without reducing control.
The Local HDR Workflow: Detect, Merge, Export
The cleanest HDR workflow has three stages: detect related brackets, merge them accurately, and export a finished image at the format and resolution you need.
Detect bracket sets from EXIF data
Manual sorting is one of the least useful parts of HDR editing. When a shoot contains hundreds or thousands of photos, visually finding every 3-, 5-, or 7-frame bracket set is slow and error-prone. Similar frames may sit next to one another, while a burst, a handheld sequence, or a change in composition can make grouping unclear.
A local HDR app should read the EXIF metadata already stored in your files. Exposure time, aperture, ISO, capture time, and exposure compensation provide the information needed to identify a true auto-exposure-bracketing sequence. This is more reliable than selecting files by hand because the grouping is based on how the camera captured them.
Before merging, review the detected set when the scene was changing quickly. If you moved the camera substantially between frames or reframed midway through a sequence, the images may not belong together. Automatic detection eliminates manual sorting, but a quick visual check is still worthwhile for high-value work.
Merge with alignment enabled
Even on a tripod, bracketed frames are rarely pixel-for-pixel identical. A camera can shift slightly when the shutter fires. Handheld brackets often have more noticeable movement. Alignment analyzes common detail across the frames and compensates for those small position changes before the exposures are combined.
Always use alignment for handheld HDR. For tripod work, it is still a sensible default, especially with long focal lengths or uneven ground. The trade-off is a little more processing time, but the alternative can be soft edges, doubled architectural lines, or a distracting halo where frames do not match.
Alignment cannot repair every capture problem. If you changed focal length, significantly rotated the camera, or had foreground objects moving across the frame, the merge has less consistent information to work with. Good capture technique still produces the best HDR source files: keep the composition fixed, use a fast bracket sequence, and avoid touching the camera until the set is complete.
Use deghosting for movement, not as a default effect
Deghosting handles subjects that move between bracketed exposures. Think leaves in wind, rippling water, walking people, cars, curtains, or a hand moving near a window. Without it, the merge can contain partial duplicates or translucent-looking areas called ghosts.
The right deghosting level depends on the scene. Low deghosting is often enough for subtle water movement or small foliage changes. Medium or high settings help when there is obvious movement, such as trees in a breeze or pedestrians crossing an architectural scene. Strong settings can protect the image from visible artifacts, but they may also prioritize one exposure in moving areas, which can make local brightness or noise more apparent.
Do not assume maximum deghosting is always better. For a still interior on a tripod, it adds little value. For a windy landscape, it can be the difference between a usable merge and a frame that looks assembled rather than photographed. Process a preview, inspect the moving areas at full size, then adjust only if the scene calls for it.
Choose Tone Mapping That Fits the Scene
The merge creates a high-dynamic-range file with detail from multiple exposures. Tone mapping decides how that range appears on a standard display or in a standard image export. This is where HDR can look natural and dimensional, or overly processed.
A natural tone-mapping style is usually the right starting point for interiors, real estate, architecture, portraits, and documentary travel work. It holds window detail and shadow information while keeping contrast believable. White walls remain white, skies retain structure, and the image does not advertise that it is HDR.
A vivid look can work well for landscapes, colorful travel scenes, or subjects with strong local color. It adds more punch without necessarily flattening the image. A dramatic look pushes local contrast and tonal separation further. Used carefully, it can suit storm clouds, textured stone, industrial spaces, or an intentionally stylized final image.
The trade-off is realism. Heavy local contrast can create halos along rooflines and mountains, amplify noise in shadows, and make foliage look crunchy. A good test is to step away from the screen for a minute, then look at the image again. If the first thing you notice is the processing instead of the light, reduce the effect.
Export Without Giving Up Resolution
HDR work is only complete when the output fits its destination. For editing headroom, printing, or later retouching, export a full-resolution image. For efficient storage and easy sharing in Apple Photos, HEIC can be a practical choice while maintaining strong image quality.
Keep the original bracket frames. The final HDR image is your interpreted version of the scene, while the brackets remain the source material if you later want a different tone-mapping style or a revised deghosting setting. This is especially useful when delivering client work with distinct needs for MLS, web, print, or social use.
Check the finished export at 100 percent before deleting anything. Look closely at window frames, tree branches against the sky, moving water, fine text, and high-contrast edges. Those are the areas most likely to reveal alignment or deghosting issues. Also inspect shadows for excessive noise and bright areas for unnatural halos.
A Faster Apple-Native Way to Process Brackets
The best local workflow does not ask you to become a specialist in file management before you can make an image. It should recognize the bracket sets already in your library, apply alignment and the appropriate amount of deghosting, then let you choose a natural, vivid, or dramatic result.
MergeHDR is built around that workflow on Mac, iPhone, and iPad. It detects 3-, 5-, and 7-frame AEB sets using EXIF data, processes the merge entirely on-device, and exports the result without manual sorting or cloud upload. You retain the decisions that affect the photograph while skipping the repetitive work that does not.
Local HDR processing is not about adding an effect to every high-contrast scene. It is about preserving the light you saw without wasting brackets, losing time to file management, or giving up control of where your photos go. Start with clean brackets, make the smallest adjustment that solves movement, and choose a tone-mapped result that still feels true to the scene.
Let MergeHDR find your brackets.
MergeHDR detects exposure brackets in your photo library and merges them into HDR photos on-device — keeping every edit, album, favorite, and location. No account; free to try, with unlimited saves for $19.99 once or $9.99/year on iPhone, iPad, and Mac.