Natural HDR Tone Mapping That Looks Real
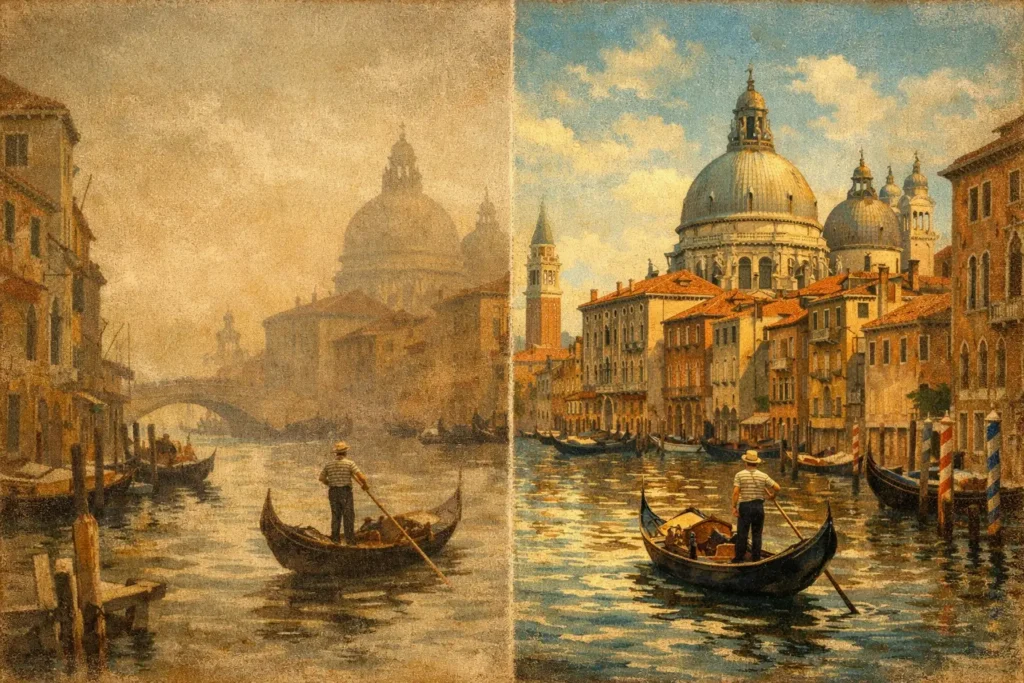
A bright window behind a dim interior is where natural HDR tone mapping earns its place. A single exposure usually forces a compromise: protect the view outside and lose the room, or expose the room and clip the sky. A bracketed merge can retain both. The question is whether the finished image still feels like the scene you saw.
Natural HDR is not about making every pixel equally bright. It is about preserving the useful range captured across multiple exposures while maintaining believable contrast, color, and depth. The result should look like a well-exposed photograph, not a collection of rescued shadows and compressed highlights.
What Natural HDR Tone Mapping Does
An HDR merge begins with several exposures of the same composition, commonly three, five, or seven frames captured with auto exposure bracketing. One frame protects bright areas, another exposes the midtones, and one or more brighter frames retain information in dark areas. Merging those files creates an image with more captured scene detail than a single exposure can hold.
That merged file still needs to be displayed on a screen or exported into a standard format. Tone mapping is the process that translates its wide tonal range into an image you can view and share. Natural HDR tone mapping makes that translation with restraint.
In practical terms, it keeps a bright sky bright, rather than pulling it down until it becomes gray. It opens a shadowed foreground without making it look illuminated by a second sun. It protects texture in clouds, painted walls, foliage, and wood without adding exaggerated local contrast around every edge.
The goal is not flatness. A natural result still has black areas, bright highlights, directional light, and visual hierarchy. It simply avoids throwing away detail when the scene contains more contrast than one exposure can record.
The Signs of an Overprocessed HDR Image
Most photographers recognize an unnatural HDR image immediately, even when they cannot name the exact processing choice behind it. Dark areas look smoky rather than shadowed. Blue skies turn cyan. Interior walls develop a muddy, low-contrast texture. Tree branches and rooflines gain bright halos against the sky.
These effects often come from pushing local contrast, shadow recovery, saturation, or highlight compression too far. They can make an image appear dramatic at first glance, especially on a small screen. At full size, the processing becomes the subject.
Natural processing takes the opposite approach. It lets the subject and the light lead. In a real-estate photograph, that means a room remains bright and usable while the window view stays credible. In a landscape, it means the sunlit ridge feels sunlit and the shaded valley retains shape. In an architectural image, it means straight lines, clean surfaces, and window detail remain the focus.
There is no universal setting that works for every bracket. A foggy forest, a sunset over water, and a white kitchen with large windows each need a different balance. The useful standard is simple: if the image no longer communicates the scene’s actual light, pull the processing back.
Start With a Clean Bracketed Merge
Tone mapping cannot fully fix a poor source set. Natural-looking HDR starts before the tone map is selected.
Your bracket frames should cover the scene’s important brightness range. If the brightest exposure still leaves the foreground nearly black, there may not be enough shadow information to recover cleanly. If the darkest frame has already clipped the sky or window highlights, the merge cannot recreate that lost detail.
Camera stability matters as well. A tripod provides the cleanest source files, but handheld brackets can work when alignment is applied accurately. The more the camera shifts between exposures, the more likely fine edges, repeating patterns, and architectural lines are to show artifacts.
Motion inside the scene is the other challenge. Leaves, waves, cars, people, and ceiling fans do not hold still while a bracket sequence is captured. Deghosting selects a consistent version of moving areas so the final image does not contain transparent people, doubled branches, or broken water patterns. More aggressive deghosting can solve difficult movement, but it may reduce detail or favor a single frame in the affected area. Use only as much as the scene requires.
MergeHDR detects 3-, 5-, and 7-frame exposure-bracketing sets from EXIF data, aligns the frames, and offers four deghosting levels before processing everything locally on your Apple device. No manual sorting, no cloud upload, and no waiting for a remote server to return your image.
How to Choose a Natural Tone Map
A natural preset is usually the right starting point when you want a photograph that reads as faithful to the location. It is especially effective for travel scenes, landscapes, architecture, interiors, and client work where accurate materials and believable light matter.
Look first at the highlights. They should retain detail, but they do not need to look dark. A white cloud can remain close to white. A sunlit wall can be bright. If all highlights are forced into a narrow midtone range, the image loses sparkle and depth.
Then inspect the shadows. Open them until important form is visible, not until every corner reaches the same brightness. Deep shadows help an image feel dimensional. In an interior, that may mean retaining a little darkness beneath furniture or along a ceiling beam. In a landscape, it may mean letting a forest floor remain darker than the sky.
Finally, check color in areas you know well. White walls should not turn blue, foliage should not become neon green, and warm indoor lighting should not contaminate every neutral surface. A natural tone map generally needs less color correction afterward because it is not aggressively remapping contrast and saturation from the start.
When Vivid or Dramatic Is the Better Choice
Natural is not the only valid look. A vivid interpretation can suit colorful sunsets, travel images, and scenes intended for quick social sharing. A dramatic interpretation can work when the graphic quality of clouds, industrial surfaces, or weather is part of the visual intent.
The trade-off is realism. Stronger tone mapping can emphasize texture and separation, but it can also make skin, walls, skies, and foliage look processed. If you are delivering architecture or real-estate work, natural is usually the safer default. If you are making a personal landscape print, a more stylized version may be exactly what you want.
The efficient workflow is to begin with natural, evaluate the image at full size, then choose a stronger look only when it supports the subject. That prevents wasted brackets and repeated edits built on an exaggerated starting point.
Check the Image at Full Size
A natural HDR merge can look excellent in a phone preview and still reveal problems when exported at full resolution. Before saving, inspect high-contrast boundaries such as rooflines against sky, window frames, tree branches, and the edges of moving subjects. These are the places where alignment errors, halos, and deghosting artifacts tend to appear.
Also inspect areas with subtle texture. Painted walls, clear blue sky, water, and smooth gradients can reveal noise or uneven tonal transitions. If shadow recovery has made an area gritty, a less aggressive result is often more convincing than forcing every detail into view.
Export format affects the final result too. Full-resolution export is the right choice when you plan to edit further, print, crop, or deliver files. HEIC is useful when you want efficient storage and fast sharing while preserving strong image quality in an Apple-native workflow. Choose based on where the image goes next, not simply on the smallest file size.
A Faster HDR Workflow Without the Usual Friction
The practical advantage of a natural HDR workflow is not just a better-looking photo. It is knowing that the work between capture and export stays short.
Detect the bracket set automatically instead of searching through a crowded library. Merge the frames with alignment and the appropriate deghosting level. Export a finished image that preserves the scene’s range without advertising the processing behind it. Ready for your library in seconds.
Nothing uploads during that process. For photographers working with home interiors, client properties, family travel images, or unreleased project work, local processing is more than a technical preference. It keeps sensitive photos on the device where they belong.
The best natural HDR image does not ask viewers to admire its tone mapping. It gives them a bright window, a detailed sky, a usable foreground, and a photograph that still feels true when they look twice.
Let MergeHDR find your brackets.
MergeHDR detects exposure brackets in your photo library and merges them into HDR photos on-device — keeping every edit, album, favorite, and location. No account; free to try, with unlimited saves for $19.99 once or $9.99/year on iPhone, iPad, and Mac.