How to Create a Dramatic HDR Photo Effect
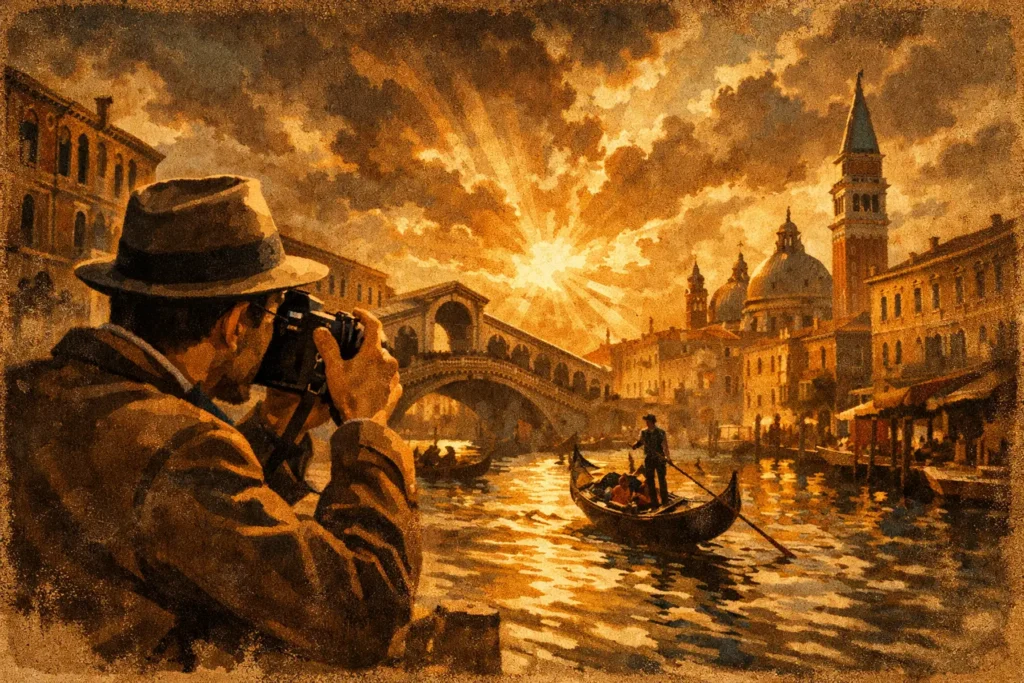
A dramatic HDR photo effect is not created by simply pushing every slider until the sky darkens and every shadow turns bright. The strongest results begin with a scene that genuinely exceeds a single exposure: a sunlit window in a dark room, a mountain ridge against a bright sky, or an architectural exterior with deep recesses. HDR gives you the captured range to work with. Dramatic tone mapping decides where the visual weight goes.
For photographers who bracket regularly, the goal is usually not an obvious HDR look. It is a finished image with controlled highlights, readable shadows, stronger local contrast, and enough depth to hold attention without turning stone, clouds, or foliage into a crunchy texture problem.
What Makes an HDR Effect Feel Dramatic
A dramatic treatment starts with separation. Bright areas need to retain shape rather than clip to blank white. Dark regions need visible information, but they should still read as dark. When shadows are lifted too far, an image loses direction and atmosphere. When highlights are compressed too aggressively, skies can look flat and windows can lose their natural brightness.
Local contrast is the other major ingredient. It increases the perceived definition between nearby light and dark details, which can give masonry, clouds, wood grain, and distant terrain more presence. Used carefully, it creates depth. Used heavily, it creates halos along rooflines and trees, exaggerated texture in skin, and noise in smooth areas of sky.
Color also matters. A dramatic HDR photo effect often benefits from slightly richer color and deeper midtones, but saturation is not the same as impact. Strong color works best when the original scene already provides it: warm light on a building, blue-hour clouds, green foliage after rain. If every color is pushed equally, the image becomes less believable and harder to print or share.
The practical test is simple: does the eye move through the frame naturally? A dramatic image should still have a clear brightest area, believable black points, and a subject that remains more important than the processing.
Start With Brackets That Can Carry the Look
Tone mapping cannot recover detail that was never recorded. A solid dramatic result depends on a usable exposure-bracketing set, commonly three, five, or seven frames captured at different exposure values. The darker frames protect bright skies, reflections, and windows. The brighter frames preserve detail in foreground shadows and interiors. The middle frame often provides the most natural color and midtone reference.
For landscape work, a three-frame bracket is often enough when the scene has a bright sky and a moderately shaded foreground. Five or seven frames give more latitude for extreme interiors, sunrise scenes, real-estate windows, and architecture with bright exterior light beyond the room. More frames are not automatically better, though. If the scene does not need them, extra captures can add storage and increase the chance that moving elements complicate the merge.
Use a tripod when precision matters, particularly for architecture, twilight, long focal lengths, and real-estate work. Handheld brackets can still produce excellent HDR files when alignment is available, but keep your stance stable and let the camera complete the sequence quickly. Movement between frames becomes most visible along high-contrast edges.
Watch the subject, not only the histogram. Wind moving leaves, water, people crossing a room, passing cars, and shifting clouds can create ghosting when frames are combined. Sometimes that movement is part of the photograph. Other times, you need a faster bracket sequence, a single-exposure approach, or stronger deghosting during the merge.
Detect, Merge, Export Without Manual Sorting
The slow part of many HDR workflows is not the merge. It is finding the related exposures in a large library, checking whether they belong together, and repeating the process for every set. That friction is especially noticeable after a travel shoot or a day of architectural photography.
A faster workflow is built around three steps: Detect, Merge, Export. Detect uses exposure metadata to identify related three-, five-, and seven-frame auto-exposure-bracketing sets. Instead of hunting through nearly identical thumbnails, you begin with groups that are already recognized as brackets. No manual sorting and no wasted brackets.
Merge combines those exposures into one high-dynamic-range image. Alignment corrects small shifts caused by handheld capture or minor camera movement. Deghosting addresses subject movement between frames. These are not cosmetic details. A dramatic tone map will make a misaligned window frame or doubled tree branch more obvious, so a clean source merge must come first.
Export is where the image returns to a usable photography workflow. Full-resolution export is the right choice when you plan to crop, print, deliver to a client, or continue editing. HEIC can be useful when file size matters and the image is headed back to an Apple photo library. The best format depends on what happens next, not on a universal rule.
MergeHDR follows this workflow locally on Mac, iPhone, and iPad. Nothing uploads, no account is required, and your bracketed photos stay on your device while the merge is processed. For photographers handling client interiors, private homes, family images, or unreleased travel work, local processing is a practical part of the workflow rather than a side feature.
Choose Dramatic Tone Mapping With Intention
Tone mapping converts the merged HDR data into an image that a display, print, or standard photo format can show. The dramatic option is most useful when the scene has structure that benefits from deeper contrast and more assertive detail: stormy landscapes, old buildings, city scenes after rain, textured interiors, or a sunrise with a clearly defined foreground.
A natural tone map is often better for portraits, bright airy interiors, soft fog, clean product images, and scenes where realistic light is the primary goal. A vivid treatment sits between the two, increasing color and contrast without pushing the image as far. The right setting depends on the subject and intended use, not on whether one style is more advanced.
When testing a dramatic result, inspect four areas at full size. First, look at edges against bright backgrounds. Halos around tree branches, rooflines, and mountain ridges are a sign that local contrast is too aggressive. Second, inspect smooth skies and painted walls for noise or patchy color. Third, check deep shadows. They should contain detail, but not look gray and washed out. Finally, inspect moving objects for doubled outlines or fragments from imperfect deghosting.
Do not judge only from a small phone preview. A file can look punchy at thumbnail size while showing heavy artifacts on a larger display. If the image will be printed, evaluate it at the approximate output size as well. Fine texture and shadow noise that feel acceptable on screen may become distracting in print.
Deghosting Is Part of the Creative Decision
Deghosting is often described as a correction tool, but it also affects the character of the final image. In a bracketed set, the software needs to decide which version of a moving object should appear in the merged result. A stronger setting can remove distracting motion artifacts around people, foliage, or vehicles. It may also simplify delicate motion that you wanted to keep.
For a static building with a few moving leaves, moderate deghosting is usually a sensible starting point. For a room with a person walking past a window or a busy street scene, a stronger setting may be necessary. For water and intentional motion blur, compare results carefully. A dramatic HDR photo effect should add presence to the scene, not accidentally freeze or fragment the movement that gives it life.
Keep the Result Credible
The best dramatic HDR images have restraint. They preserve the reason you made the bracket in the first place: a sky that was too bright for the foreground, an interior that was too dark for the windows, or a facade with detail across sun and shade. Processing should solve that exposure problem while giving the frame a confident visual finish.
If the image starts to look overworked, reduce the drama before trying to repair it with more edits. Let the brightest highlights stay bright. Allow some areas to fall into shadow. Keep skin tones and neutral surfaces believable. A little mystery in the dark areas often makes the available detail feel more valuable.
The next time a scene pushes beyond one exposure, capture a clean bracket, merge it with alignment and appropriate deghosting, then compare natural, vivid, and dramatic tone mapping at full size. The strongest choice is the one that makes the scene feel more like the moment you saw, with no extra work competing for attention.
Let MergeHDR find your brackets.
MergeHDR detects exposure brackets in your photo library and merges them into HDR photos on-device — keeping every edit, album, favorite, and location. No account; free to try, with unlimited saves for $19.99 once or $9.99/year on iPhone, iPad, and Mac.