High Dynamic Range Photography Without the Hassle
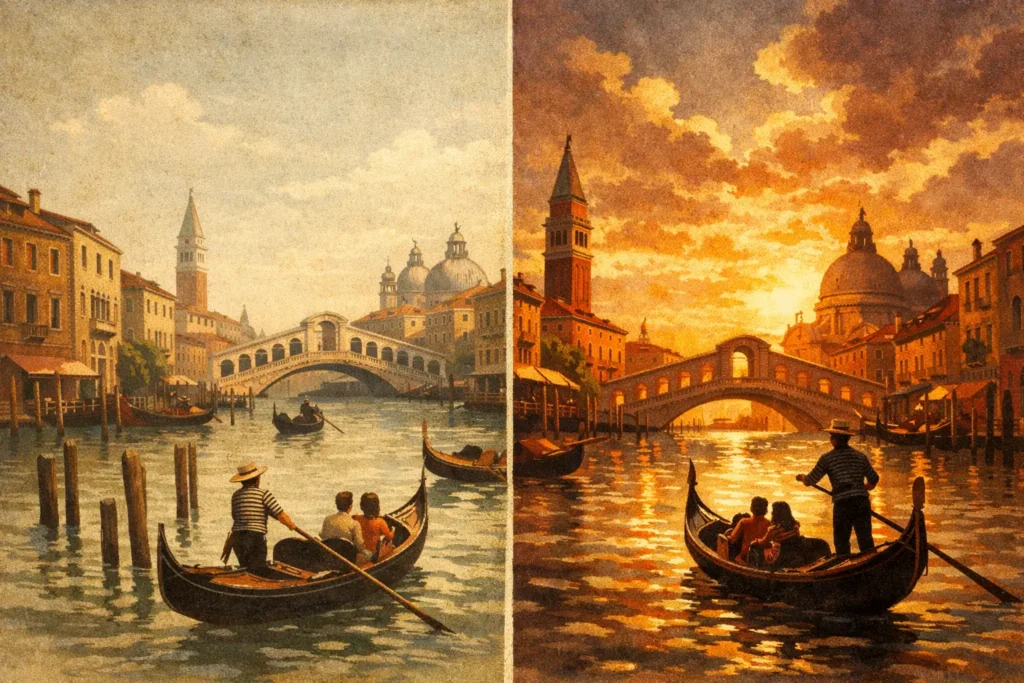
A bright window behind a dim interior can force a bad compromise: expose for the room and the view turns white, or protect the view and the room falls into shadow. High dynamic range photography is built for exactly this problem. By combining multiple exposures of the same scene, it preserves detail a single frame cannot hold – without asking you to choose between the highlights and the shadows.
For real estate, architecture, travel, and landscape work, HDR is not about making every image look exaggerated. Done well, it produces a file that feels closer to what you saw: readable skies, controlled window light, detailed foregrounds, and color that does not collapse in the darkest areas.
Why a Single Exposure Falls Short
Every camera sensor has limits. In a contrast-heavy scene, the difference between the brightest and darkest areas may exceed the sensor’s usable dynamic range. When that happens, raising exposure to reveal shadows can clip highlights, while lowering exposure to save highlights can bury useful texture in dark areas.
A window-lit kitchen is a familiar example. The base exposure may render cabinets and counters well, but the exterior view is overexposed. A darker frame retains the sky and landscaping. A brighter frame reveals detail beneath cabinets or in a shaded hallway. HDR merging takes the best-supported data from each frame and combines it into one image.
The goal is not to manufacture detail that was never captured. It is to capture the scene deliberately, then merge exposures cleanly. That distinction matters. HDR works best when your bracket has real highlight and shadow information to contribute.
High Dynamic Range Photography Starts With Brackets
Most HDR workflows begin with auto exposure bracketing, often called AEB. Your camera records a sequence such as three, five, or seven frames while changing exposure between shots. A common three-frame sequence might include a normal exposure, one darker exposure, and one brighter exposure.
Three frames are often enough for moderate contrast, such as a landscape with a bright sky and a shaded foreground. Five or seven frames can be useful for interiors with windows, sunset scenes, deep architectural shadows, or any scene where preserving both highlight and shadow detail is critical. More frames create more coverage, but they also increase capture time and the chance of movement between exposures.
Use the lowest ISO practical for your situation. This keeps shadow data cleaner when the brighter frames are merged. Shoot in RAW when your workflow supports it, especially for demanding scenes, because it preserves more editing latitude. If speed matters more than maximum flexibility, a well-exposed bracketed HEIC or JPEG sequence can still produce an effective HDR result.
The right exposure spacing depends on the scene. One or two exposure values between frames is common. If the gaps are too small, adjacent images may contribute very little unique detail. If they are too large, tonal transitions can become harder to manage. Start with a three-frame, two-EV bracket, then adjust based on what your camera and subjects allow.
Keep the Camera Steady, but Do Not Overthink It
A tripod remains the safest choice for architecture, interiors, and deliberate landscape work. It gives the merge software nearly identical compositions and minimizes edge artifacts. But handheld brackets can work well when your shutter speed is fast and your merging tool includes reliable alignment.
The bigger problem is movement inside the scene. Leaves, water, people, cars, and curtains may occupy different positions in each exposure. That is where deghosting matters. It identifies changing areas and chooses a consistent source frame, preventing doubled people, broken tree branches, or strange patches in moving water.
A Faster HDR Workflow: Detect, Merge, Export
The part that slows photographers down is rarely pressing the shutter. It is finding related frames afterward, deciding which exposures belong together, aligning the stack, fixing motion, and testing multiple looks. A practical workflow should remove those repetitive steps while leaving meaningful controls in your hands.
Detect
A capable HDR app should read EXIF capture data to identify matching AEB sets in your library. This eliminates manual sorting through near-identical thumbnails after a shoot. Rather than guessing which three or five files belong together, you begin with bracket groups already identified.
That is especially useful after a real estate session, a trip, or a landscape outing where dozens of sequences may sit next to single images and unrelated shots. No manual sorting means fewer missed brackets and less time spent building stacks.
Merge
During the merge, alignment corrects small shifts from handheld capture or minor camera movement. Good alignment is fundamental: if edges do not match, the image can look soft or show halos around rooflines, windows, and branches.
Deghosting then handles movement within the frame. There is no universal setting that fits every scene. A low setting can retain a more natural blend when motion is minimal. A stronger setting may be necessary for people walking through an interior, moving foliage, or waves. Check areas with high contrast and fine detail, since that is where ghosting is easiest to spot.
Tone mapping determines how the merged dynamic range becomes a viewable image. Natural processing is usually the right starting point for property photography, documentary travel images, and scenes that should feel credible. Vivid processing can help when color separation and local contrast need more energy. Dramatic processing can suit a deliberate editorial look, but it can also make ordinary scenes feel overworked. The best choice depends on the image’s purpose, not on which setting appears strongest at first glance.
Export
Export should fit the next step in your workflow. Full-resolution output gives you room for further edits, large prints, or client delivery. HEIC can be a practical choice when you want efficient storage and easy use across Apple devices.
Keep the original bracket frames. They are your source material if you later want a different tone-mapping style or a stronger deghosting pass. A clean HDR workflow adds a finished image to your library without forcing you to give up the files that made it possible.
How to Avoid the HDR Look People Dislike
HDR earned a mixed reputation because early processing often pushed local contrast, saturation, and shadow recovery too far. The result could look crunchy, flat, or unreal. The solution is not avoiding HDR. It is using restraint.
Start by protecting the scene’s natural hierarchy. A sunset should still have bright areas. A moody interior should still have shadows. If every part of the frame has identical brightness, the image loses depth. Watch for halos along skylines and building edges, gray-looking blacks, oversaturated grass, and unnatural color shifts in white walls. These are usually signs that the merge or tone mapping needs a lighter touch.
There are times when HDR is not the best choice. If a subject is moving quickly through a scene, a single well-exposed frame may look better than an aggressively deghosted merge. If contrast is modest, one RAW file may provide all the recovery you need. HDR is a tool for scenes that exceed a single exposure, not a requirement for every photograph.
Local Processing Matters for Personal and Client Images
Photographers often bracket scenes that are sensitive by nature: private homes, client properties, family travel, unreleased commercial spaces, and location work. Sending those files to a remote service adds delay and creates an unnecessary privacy question.
MergeHDR processes bracket detection, alignment, deghosting, tone mapping, and export directly on your Mac, iPhone, or iPad. Nothing uploads, no account is required, and your images remain under your control. The practical benefit is just as important as the privacy benefit: you can review a bracket, make a choice, and create a finished file ready for your library in seconds.
High dynamic range photography should help you keep more of the scene you worked to capture, not create another pile of files to manage. Shoot a deliberate bracket, let your device identify the set, and use natural processing first. If the image still feels like the place looked when you were there, the workflow is doing its job.
Let MergeHDR find your brackets.
MergeHDR detects exposure brackets in your photo library and merges them into HDR photos on-device — keeping every edit, album, favorite, and location. No account; free to try, with unlimited saves for $19.99 once or $9.99/year on iPhone, iPad, and Mac.