How to Shoot iPhone AEB for Clean, Natural HDR
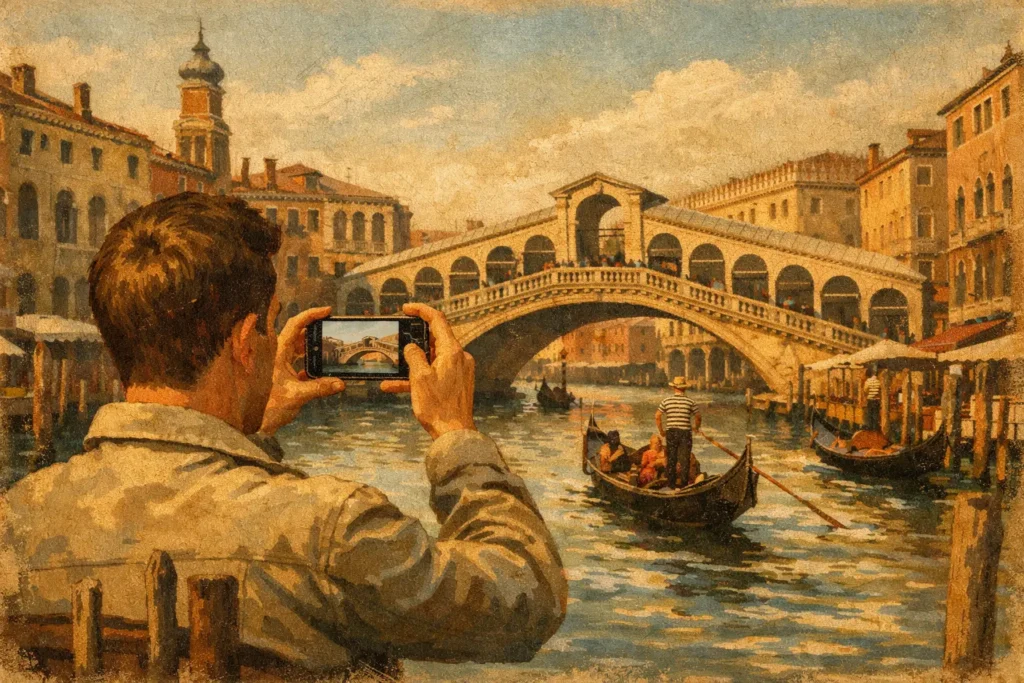
A bright window behind a dim interior is where a single iPhone frame runs out of room. Expose for the room and the window turns white. Expose for the window and furniture, walls, and corners fall into shadow. Knowing how to shoot iPhone AEB gives you separate exposures for those extremes, so you can merge the scene later without sacrificing either end of the tonal range.
AEB means auto exposure bracketing: a short sequence of photos made at different exposure values, usually from dark to bright. The darker frames protect highlight detail, the brighter frames reveal shadows, and the middle frame supplies the scene’s natural midtones. It is a practical capture method for architecture, real estate, travel, landscapes, and any high-contrast scene where one exposure is a compromise.
What iPhone AEB actually means
The built-in iPhone Camera app can create excellent computational HDR automatically, but it does not offer the same user-controlled, multi-frame AEB sequence found on many dedicated cameras. If you need separate bracket files with predictable exposure spacing for an HDR merge, use an iPhone camera app that explicitly offers exposure bracketing or manual capture controls.
That distinction matters. A finished HDR image from the default camera is designed to look good immediately, but it is not the same as having a 3-, 5-, or 7-frame set to process on your terms. Separate brackets preserve your choices: how much highlight recovery to apply, how natural the shadows should look, and how strongly to handle movement between frames.
Before shooting, confirm that your chosen camera app saves each exposure as an individual image and retains EXIF metadata. Metadata records the exposure information that helps an HDR workflow recognize frames belonging to the same bracket. Without it, you may be left manually sorting nearly identical shots after the fact.
How to shoot iPhone AEB: set up the bracket
Start by finding the composition first. Bracketing works best when the phone stays in the same position through the entire sequence, so frame the scene, choose your lens, and avoid changing zoom or focus while the set is being captured. The 1x lens is often the safest choice for interiors and general scenes because it delivers a familiar field of view with dependable image quality. Use another lens when the composition requires it, but do not switch lenses halfway through a bracket.
Set a stable focus point on the subject area that matters most. For an interior, that might be a wall or furniture at a middle distance rather than the bright window. If your camera app allows exposure and focus lock, use it. A locked focus point prevents subtle changes in framing and sharpness from one exposure to the next.
Then choose the bracket count and exposure interval. A 3-frame bracket at roughly 2 EV apart is a strong default for many scenes. It gives you a darker frame for windows or sky, a normal frame for the overall scene, and a brighter frame for deep shadow detail. EV, or exposure value, represents a doubling or halving of light. A 2 EV difference is significant enough to capture useful tonal information without creating unnecessary files.
Use 5 frames when the scene has unusually extreme contrast, such as a dark room looking onto a sunlit ocean or a shaded foreground under a bright midday sky. A 7-frame set can be useful for difficult architectural scenes, but it has trade-offs: more captures take longer, increase the chance of motion, and create more images to store. More frames are not automatically better. Shoot only as much range as the scene needs.
Make the capture stable before chasing more range
Alignment can correct small handheld shifts, but stability still improves every HDR merge. For static subjects, a tripod and phone clamp give the cleanest source frames. They are especially useful for real-estate work, blue-hour city scenes, and interiors where the bright exposure may use a slower shutter speed.
Handheld AEB is still practical when you work deliberately. Hold the phone with both hands, keep your elbows close to your body, and trigger the sequence without repositioning. Do not walk, reframe, or change your grip until every exposure has finished saving. If possible, use a short timer or a remote trigger to remove the movement caused by tapping the shutter button.
Watch for nearby motion, not just camera shake. Tree branches, waves, people walking through a room, cars, flags, and ceiling fans can all appear in different positions across a bracket set. HDR software can deghost moving areas, but a calm scene will always merge more cleanly than a busy one. If movement is unavoidable, shoot the bracket quickly and leave enough room around the moving subject so a correction looks natural.
Expose to protect highlights
The key exposure decision in iPhone AEB is simple: make sure the darkest frame contains real detail in the brightest important area. If you are photographing a hotel room, inspect the windows. If you are shooting a mountain overlook, inspect the clouds around the sun. If those areas are solid white in every frame, there is no highlight detail available to recover later.
Your brightest exposure has a different job. It should lift dark corners, foliage, or foreground detail without turning the entire image into noise. On modern iPhones, very bright frames can reveal a surprising amount of shadow information, but pushing too far can produce soft detail, color noise, and motion blur. This is why a balanced 3- or 5-frame set usually beats a random collection of extremely bright shots.
Review the bracket before leaving the scene. You do not need every frame to look attractive by itself. In fact, the dark frame may look underexposed and the bright frame may look washed out. What matters is coverage: highlights are held in one image, shadows are visible in another, and the middle exposure provides a credible baseline.
Avoid the common iPhone AEB mistakes
The most frequent mistake is accidentally changing the scene between captures. If an app does not fire the full sequence as a burst, it is easy to nudge the phone while taking each exposure manually. In that case, use a tripod or repeat the sequence until you have a tighter set.
Another mistake is treating exposure compensation as AEB. Exposure compensation makes one shot brighter or darker. It can help you manually create separate exposures, but it is slower and more prone to changes in focus, framing, and subject movement. True AEB is preferable because it captures the planned range in one controlled sequence.
Also avoid mixing automatic and manual decisions in the middle of a set. Do not let focus jump from the foreground to the background, change the lens, turn on a flash, or edit one frame before merging. Keep the original bracket files together. Your HDR process needs consistent source material, not individually optimized photos.
Finally, do not bracket every scene by default. A flat, overcast landscape or evenly lit portrait may gain little from multiple exposures. AEB adds files and processing time. Use it where the tonal range genuinely exceeds what one exposure can hold.
Detect, merge, and export without manual sorting
After capture, the practical challenge is recognizing which images belong together, particularly after several locations or a full day of shooting. A bracket-aware workflow should identify the 3-, 5-, and 7-frame sets from their EXIF information rather than asking you to hunt through the library.
MergeHDR follows that workflow directly: Detect, Merge, Export. It identifies bracket sets in your Apple photo library, aligns small handheld shifts, and lets you select the level of deghosting needed for moving details. You can then choose a natural, vivid, or dramatic tone-mapped result and export at full resolution or as HEIC. Nothing uploads. Processing stays on your iPhone, iPad, or Mac, with no account and no manual sorting.
Use a natural tone map when the goal is a believable interior, landscape, or architectural image with preserved window detail and open shadows. Choose vivid when the scene benefits from stronger color and local contrast. Dramatic can work for weather, industrial subjects, or intentionally stylized travel images, but it is easy to overdo. The best HDR result usually does not announce itself as HDR. It simply looks like the scene had enough light everywhere it mattered.
A quick field routine for reliable brackets
When you arrive at a high-contrast scene, compose first, lock focus and exposure behavior, then choose a 3-frame bracket. Check whether the darkest frame holds the bright sky or window. If it does not, increase the range or move to 5 frames. Keep the phone still through the sequence, then make a second set if foliage, people, or your own hand movement may have affected the first.
That small amount of discipline prevents wasted brackets later. Capture enough range, keep the frames consistent, and let your HDR workflow handle alignment and finishing. The payoff is not an artificial effect. It is a photograph that retains the window view, the shadow detail, and the reason you stopped to make the picture in the first place.
Let MergeHDR find your brackets.
MergeHDR detects exposure brackets in your photo library and merges them into HDR photos on-device — keeping every edit, album, favorite, and location. No account; free to try, with unlimited saves for $19.99 once or $9.99/year on iPhone, iPad, and Mac.