How to Export HDR Photos as HEIC on Apple Devices
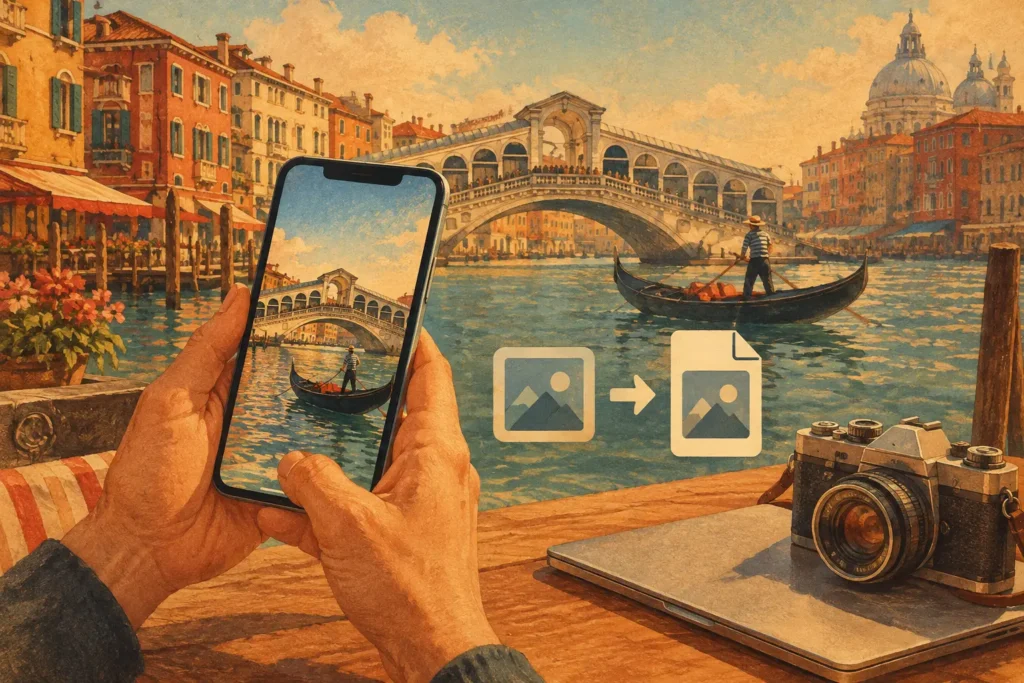
A finished HDR image should not become a storage problem. When you export HDR photos as HEIC, you keep a high-quality, full-resolution result that is practical to save, share, and keep in your Apple photo library. For bracketed landscape, travel, interior, and real-estate work, that matters: HDR processing may combine three, five, or seven original frames, but the delivered image should still be easy to manage.
HEIC is a strong final-export format for Apple-device photographers because it provides efficient compression without the oversized file footprint that can come with other high-quality formats. The right workflow is simple: detect the bracket set, merge it cleanly, choose the final look, and export the finished HDR image directly to your library.
Why export HDR photos as HEIC?
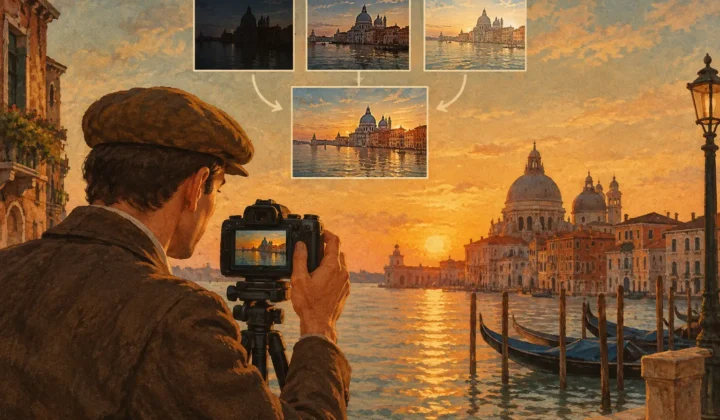
An HDR merge begins with multiple exposures of the same scene. One frame may preserve bright clouds or window views, while another retains detail in a dark foreground, room corner, or shaded building facade. The merge combines the useful exposure information, then tone mapping converts that broad range of data into an image that looks right on normal displays.
The original bracketed frames are valuable source material, but they are not usually the files you want to send to a client, attach to a listing, or scroll through on your phone. A single HEIC export gives you a polished final image without multiplying your library with large derivative files.
For Apple workflows, HEIC has several practical advantages. It supports excellent image quality at smaller file sizes than uncompressed alternatives, works naturally in Photos on iPhone, iPad, and Mac, and helps keep local storage under control when you regularly shoot brackets. That makes it especially useful for photographers returning from a trip with dozens of landscape sequences or real-estate photographers processing multiple window-heavy rooms.
There is a trade-off. HEIC is designed as a finished image format, not as a replacement for your original brackets or an editing master. Keep the source frames when you may want to reprocess an image later with different deghosting or tone-mapping choices. Export HEIC when the image is ready for your library, delivery, or everyday sharing.
The HDR-to-HEIC workflow: Detect, Merge, Export
Detect the bracket sets automatically
Manual bracket sorting wastes time and creates easy mistakes. A burst of similar exposures can look nearly identical in a grid, especially after a long shoot. The useful distinction is in the capture data: exposure values, timestamps, and the sequence structure created by auto exposure bracketing.
A capable HDR workflow reads that information to identify related 3-, 5-, and 7-frame sets. Instead of selecting every frame by hand, you begin with organized groups that belong together. No manual sorting means fewer missed brackets and less risk of merging the wrong exposures from a scene.
This step is particularly useful when your library contains a mix of standard shots, repeated compositions, and multiple bracket sequences. A photographer should spend time judging the final image, not rebuilding the order their camera already recorded.
Merge with alignment and deghosting
Bracketed frames are rarely perfectly identical. Even on a tripod, a camera can shift slightly between exposures. Handheld brackets may move more noticeably. Leaves, water, people, cars, and curtains can also change position while the sequence is captured.
Alignment corrects small frame-to-frame movement so stationary details line up before the exposures are blended. Without it, rooflines, branches, interior edges, and window frames can show soft doubling or halos. For architectural and real-estate work, accurate alignment is often the difference between a clean image and an obviously processed one.
Deghosting addresses moving subjects. Its purpose is not to freeze motion that was never captured clearly. It chooses a consistent version of a changing area so a passing person, swaying tree, or rippling water does not appear several times in the final merge.
The correct deghosting level depends on the scene. Use a lighter setting when the scene is mostly static and you want to preserve delicate texture. Increase it when foliage is moving in wind, clouds are shifting quickly, or activity is visible through windows. More correction is not automatically better. Aggressive deghosting can simplify fine detail, so choose the least intervention that removes distracting artifacts.
Choose a tone-mapped result before export
HDR is not a look by itself. It is the ability to retain information in bright and dark areas that a single exposure could not hold at once. Tone mapping determines how that information appears in the final image.
A natural treatment is usually the right starting point for architecture, interiors, travel scenes, and images where accurate color and believable contrast matter. It protects highlight detail and opens shadows without making the photo look exaggerated. A vivid option can add more color and local contrast for sunsets, foliage, and dramatic weather. A dramatic treatment can work when the scene supports a stronger interpretation, but it needs restraint in spaces with white walls, skin tones, or subtle gradients.
Before exporting, inspect the areas most likely to reveal problems: bright windows, sky transitions, deep shadows, high-contrast edges, and moving objects. Check that clouds retain texture without looking gray, shadow detail is visible without becoming flat, and colors still match the scene you photographed. The best HDR result does not announce the processing. It simply holds the detail your camera captured.
Export settings that keep the result useful
When your HDR merge is ready, export at full resolution if the image may be printed, delivered, cropped later, or used in a listing. A full-resolution HEIC gives you a compact final file while preserving the detail that makes the merge worthwhile.
Reduced-size exports have a place when speed matters more than flexibility, such as quick previews or temporary sharing. But downscaling too early limits future options. A clean full-resolution HEIC in your library is a better default for work you intend to keep.
Color and display behavior also deserve a quick check. Apple devices generally handle HEIC well, but the receiving workflow matters. If a client, listing platform, or older non-Apple system specifically requires JPEG, export a compatible delivery copy for that use. Do not assume every upload service treats HEIC identically. The right format depends on where the image is going.
For your own Photos library, HEIC is often the efficient choice. It keeps the completed HDR file manageable while leaving the original brackets available when you need them.
Keep the processing local
HDR source frames can reveal more than the finished photo: home interiors, travel locations, family moments, client properties, and unreleased work. Uploading those files to a remote processing service may be unnecessary when the work can happen directly on your device.
MergeHDR processes detection, alignment, deghosting, tone mapping, and export locally on Mac, iPhone, and iPad. Nothing uploads. No account is required to process your bracketed images, and your photo data is not collected for server-side rendering. The result is ready for your library in seconds, without adding a cloud handoff to an otherwise simple workflow.
A better default for finished bracketed photos
Keep your original exposure brackets as your source files. Then save a full-resolution HEIC as the finished version you can find, share, and use without hunting through a stack of nearly identical exposures. With automatic bracket detection, careful alignment, and the right amount of deghosting, the final export can be both technically clean and easy to live with.
Let MergeHDR find your brackets.
MergeHDR detects exposure brackets in your photo library and merges them into HDR photos on-device — keeping every edit, album, favorite, and location. No account; free to try, with unlimited saves for $19.99 once or $9.99/year on iPhone, iPad, and Mac.